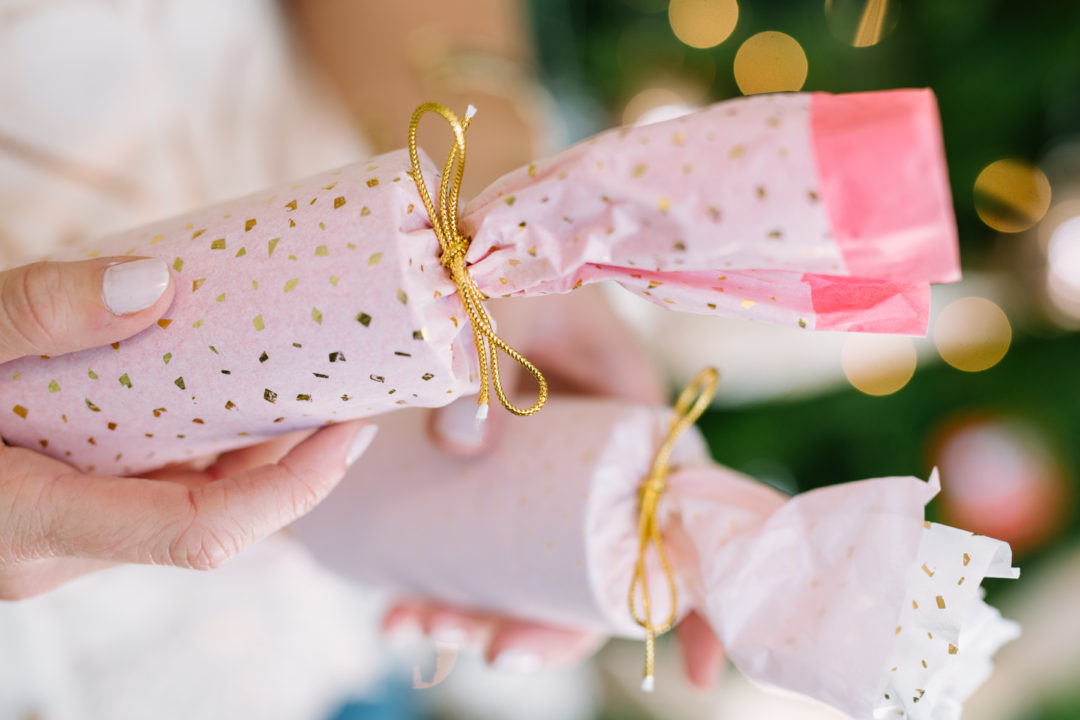
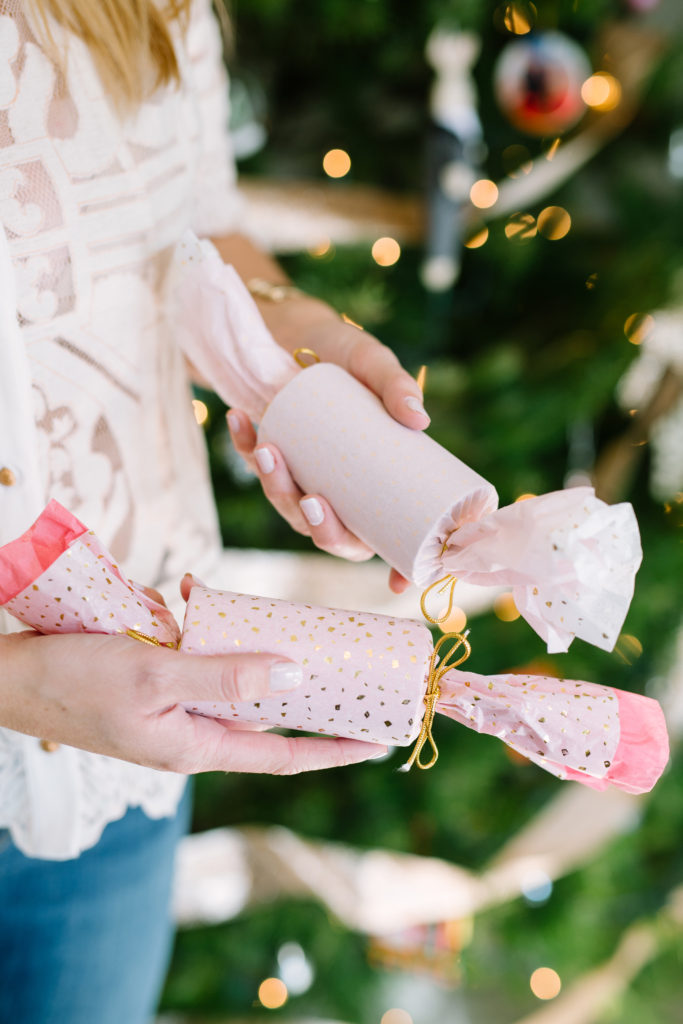
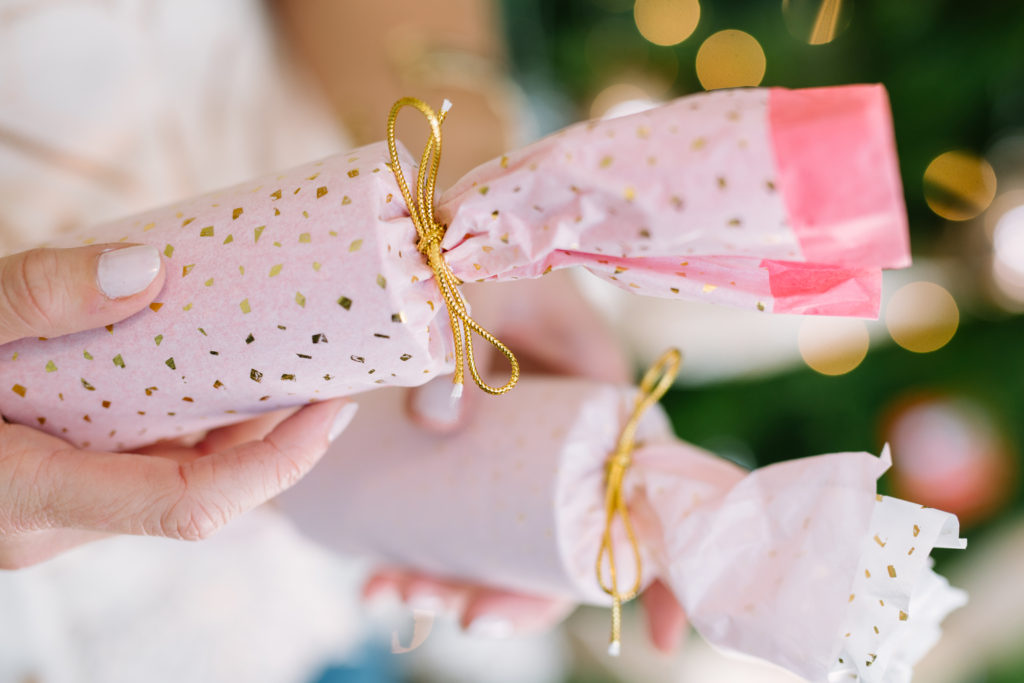
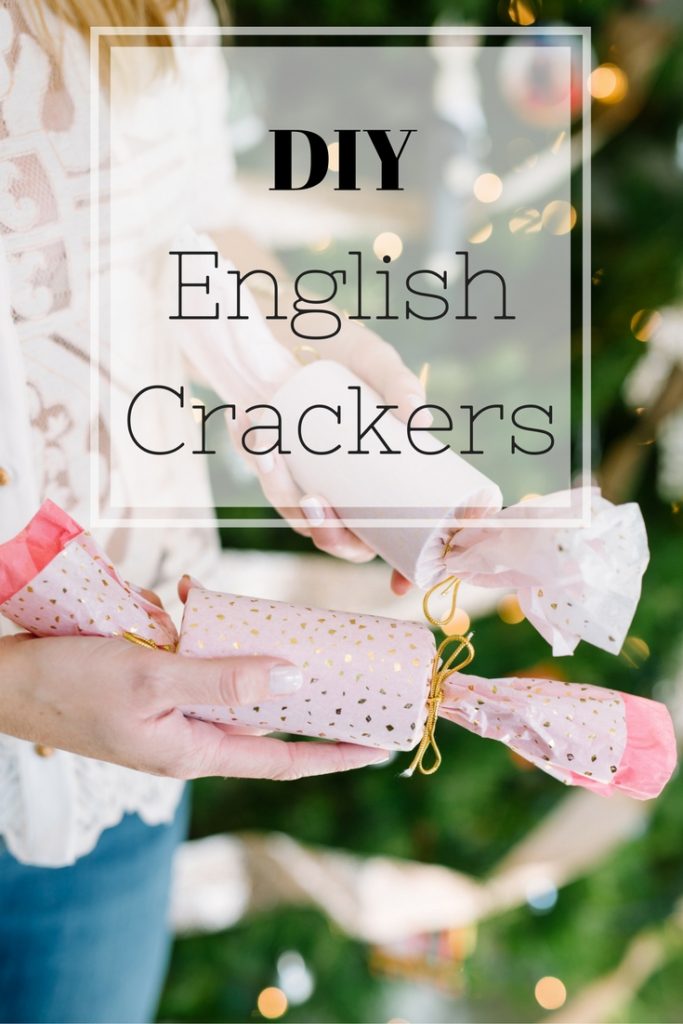
There is nothing like a good DIY project to get you into the holiday mood. If you have been following along on My Manicured Life for a while, you are well aware that my family is from England and that we like to recognize it pretty often. Christmas crackers are something that I grew up with and that remind me of fond memories with my family during the holidays. Typically, these are used at Christmas time but I introduced them as a wedding favor for my guests that doubled as an ice breaker. There really isn’t a limit on which special occasions to use these; if I don’t have the time to make these before Christmas, they are equally great for NYE, birthdays or even a fun brunch with friends.
Our wedding had DIY moments in it, and the crackers were something that I simply HAD to have. Even though pink isn’t typically associated with Christmas, I used the remaining crackers and placed them into our tree branches among our holiday ornaments, and I have to say that I was quite pleased with both the look and the opportunity to reuse something from our wedding day.
What’s Inside?
Inside of a cracker, you will find a crown (any color you like), a little joke or a sweet thank you note (as we did for our wedding), along with a treat or toy.
How To Play:
The cracker is traditionally pulled by two people; when pulled apart, you will hear a snap sound from a long snapper that has been placed inside. The person with the large piece of the cracker will have the end that contains the crown and the note/sweet/toy. The one with the shorter ends turns to the next person for another go.
Materials:
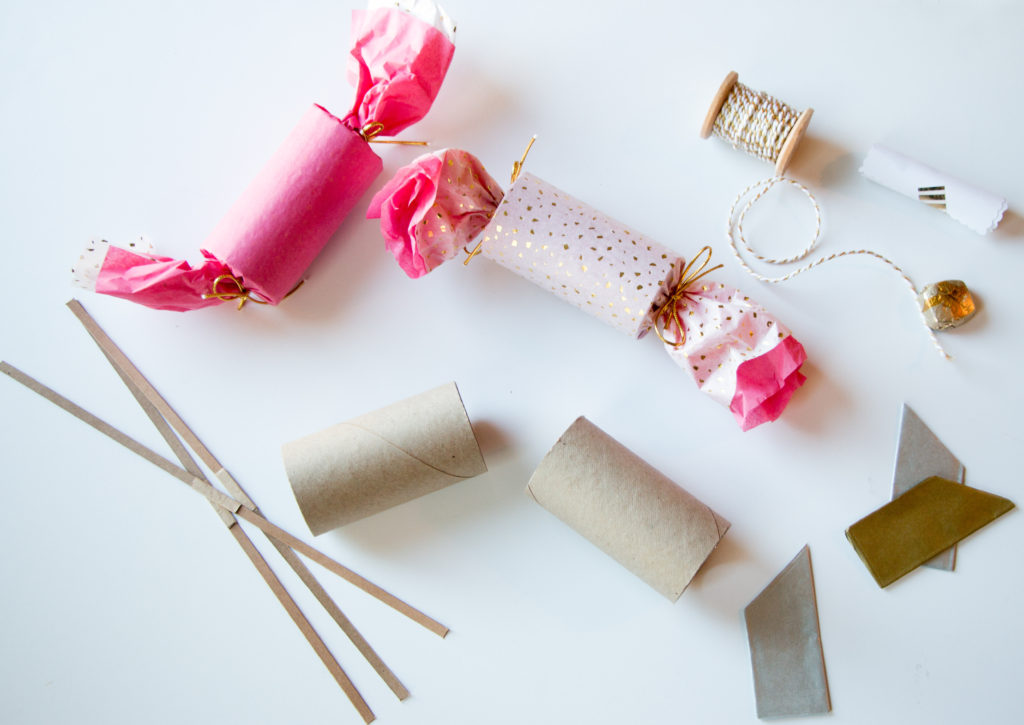
Cardboard tubes (2 x 4 inches) – found here
Tissue Paper or festive wrapping paper of your choice (cut to 7.5 x 12 inches) — crackers made with lighter weight papers will tear apart easier when pulled so if you want to use tissue paper like I did, use two layers.
Snaps found here
Paper Crowns found here or you can also make your own!
Toys, sweets, and notes of your choice!
Scissors
DIY Instructions:
- Insert rollers into ends of cardboard tube (if fit between tube and roller is not snug enough, add a little masking tape to smaller (red) end of roller).
2. Lay tube on back of wrapping paper making certain tube is centered across length of paper. Apply a small strip of double-sided tape to the bottom middle edge of paper and roll tube back over tape.
3. Place snap under front (leading) edge of roller-tube assembly, making certain snap is centered across length of paper.
4. Roll paper onto roller-tube within a half inch or so of paper’s end. Make certain paper rolls evenly (straight) onto tube.
5. With double sided tape, run a strip of tape along back of paper about a quarter inch in from top edge. Roll paper over the tape. Now the paper is around the entire tube.
6. Tie off one end with a ribbon of choice, fill the tube with the sweet/toy, note, and crown and then tie off the other end.
I hope you enjoyed this manicured, DIY post. Happy holidays!

