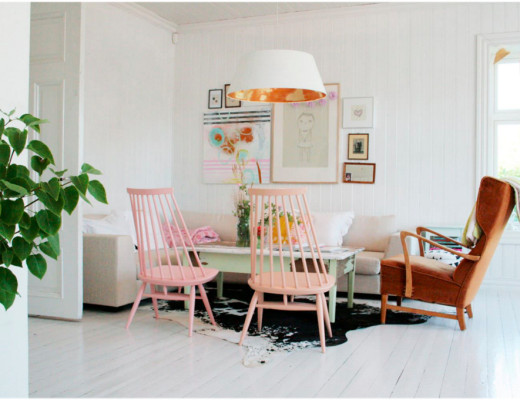
Image Via: Julia Goodwin’s Home Tour
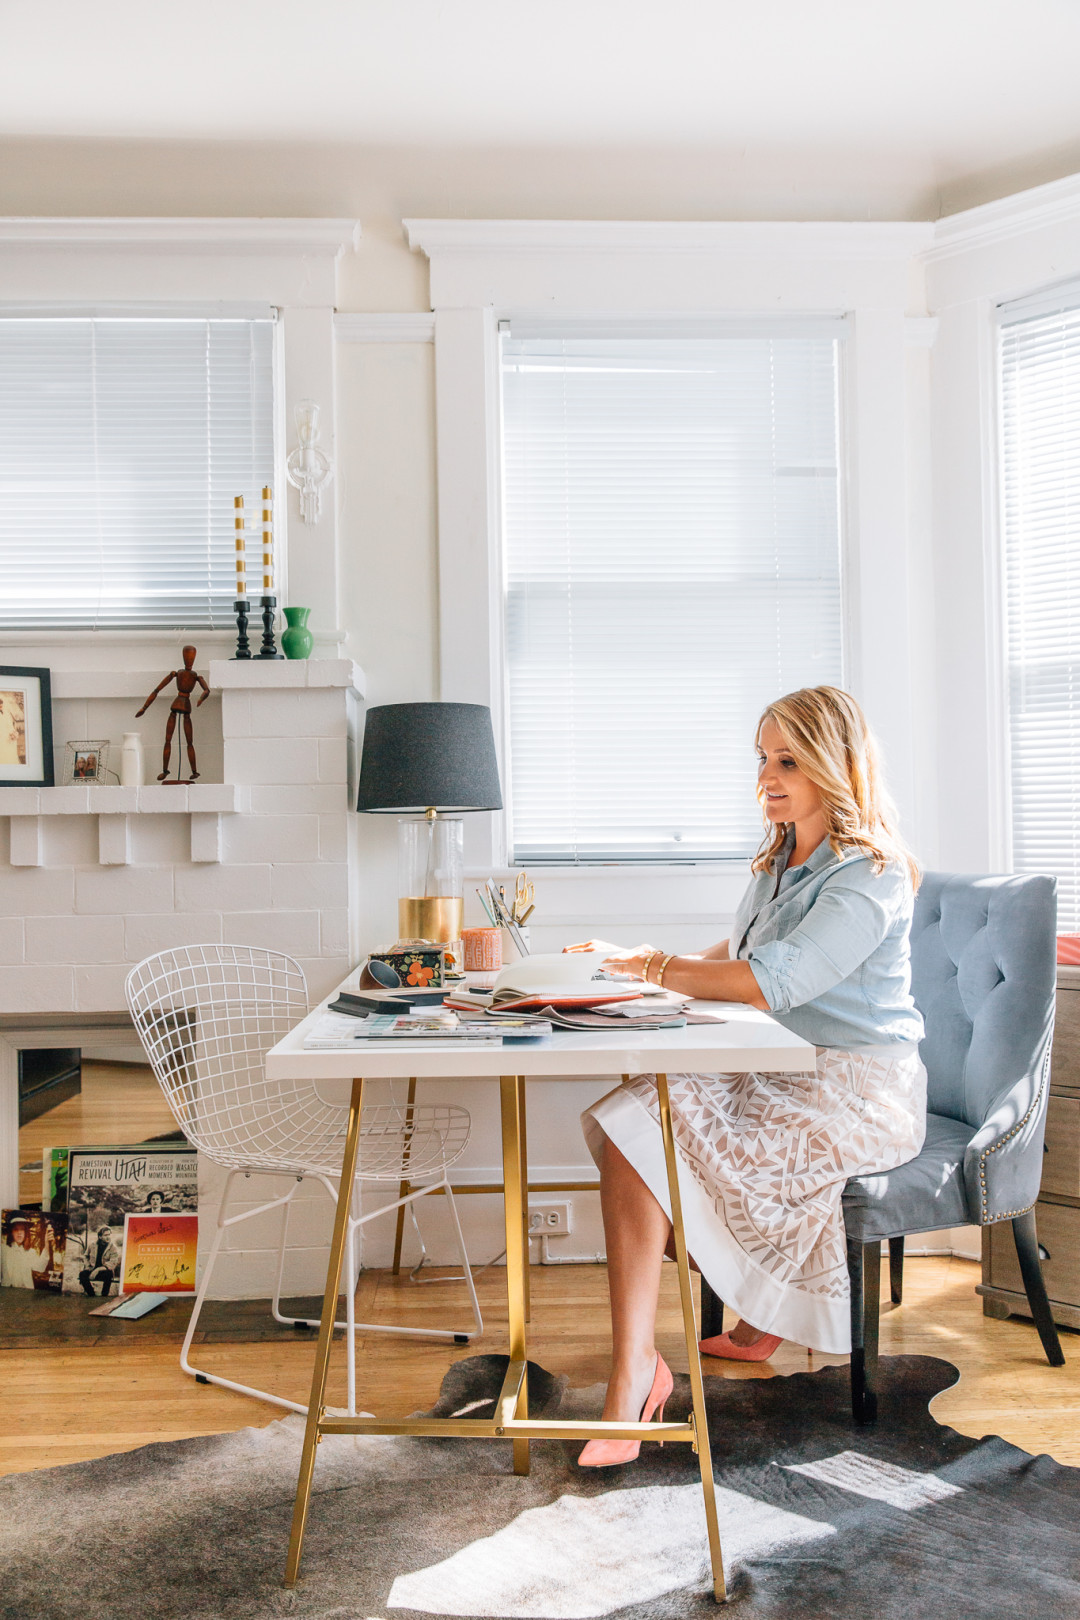
One of my favorite IKEA hacks of all starts with a touch of gold. It’s no secret I’m a fan, but with this budget friendly DIY I’m not tied into a furnishing for the long run.
When I first found out I’d be moving into my current apartment I was extremely excited! I was moving from a small but adorable studio into a generous, two-bedroom apartment in a great part of the city. This was going to be a big undertaking, so it was only natural to start a few DIY projects to keep my budget in line without compromising on style.
Image Via: Ikea
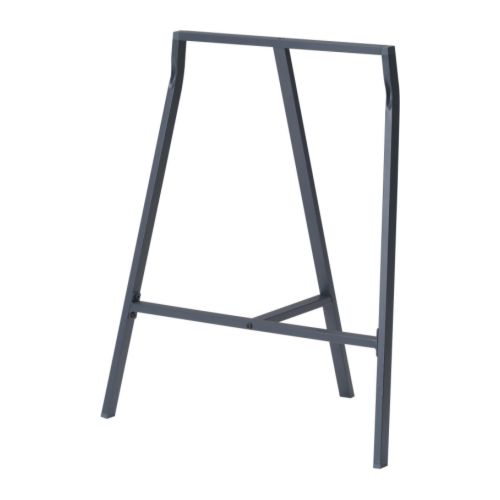
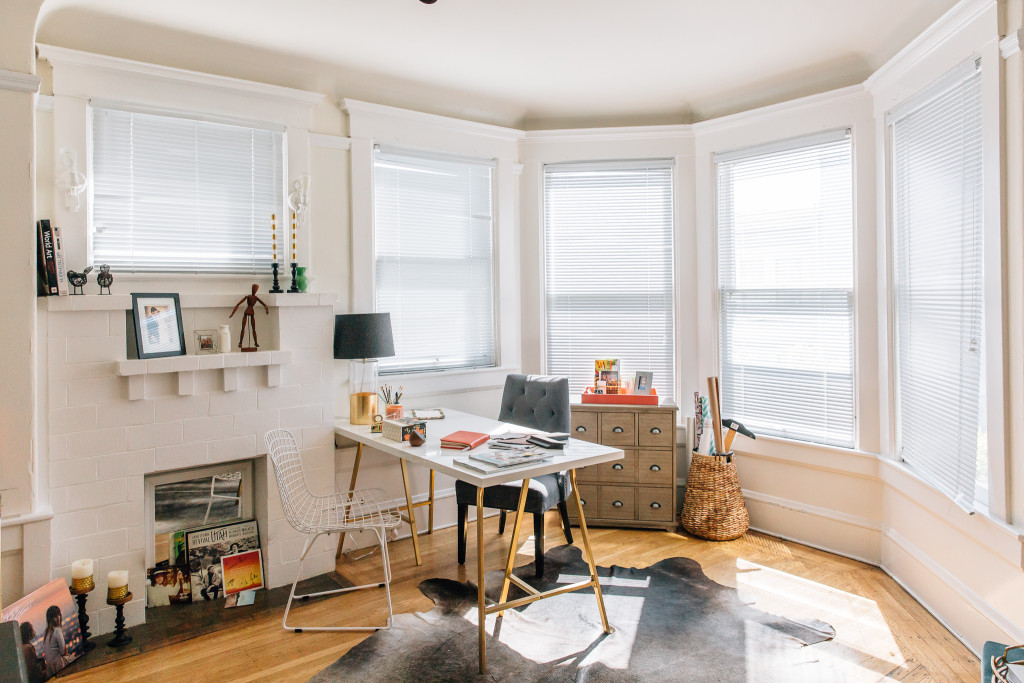
One room I was especially excited about was my home office. A larger office, with a larger desk – FINALLY! I had my eye on the this high gloss desk top, and I knew I wanted some fun legs for it. I found these desk legs and immediately knew what I wanted to do to them — add a touch of gold!
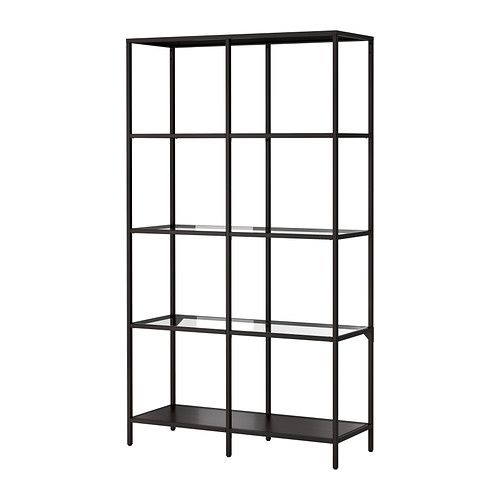
Image Via: Ikea
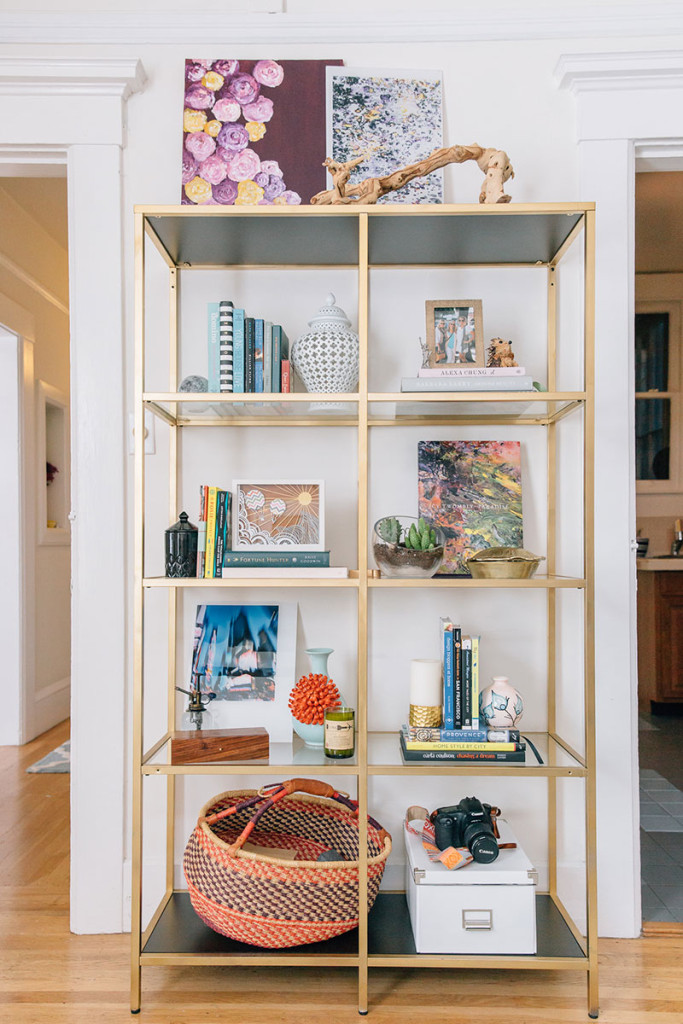
I also wanted to pull the gold finish into the living room, so I purchased one of my personal favorite items at IKEA. The Vittsho Shelving Unit (available in two sizes) had the clean lines I was after and was the perfect place for the books and accessories I wanted to showcase.
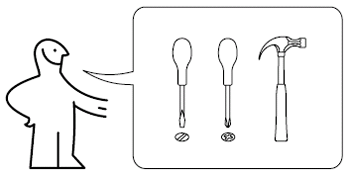
Like most items from IKEA, the shelving unit came unassembled – this is actually great for your DIY project!
Safety first:
Unfortunately, I didn’t have a backyard to use during this project. If you are in the same boat then I highly recommend you protect yourself from fumes. You will be working with some pretty smelly spray paints and trust me when I say open the windows, use plastic gloves and a protective face mask – trust me!
Set up Shop:
Plastic wrap – protect your work area
Sand paper – lightly used for any rough areas of the metal frame
Primer spray paint – highly recommend
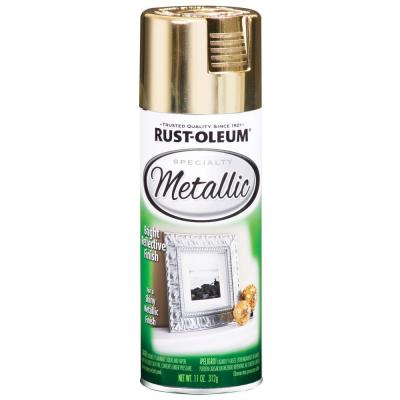
Gold spray paint – I looked at quite a few options, and I really like the tone of this one
This DIY project is not fast moving, but your patience will go a long way. Prep work is the most important part when it comes to painting, refinishing or spraying any piece of furniture or room, so take your time!
Let’s Get Started!
Sand paper: Lay out each piece that makes up the bookshelf and desk legs, and double check you have all of the parts before proceeding. Check for any rough spots where the liquid can pool. With the light touch of sand paper on metal, you will get the result of smooth edges, working towards a clean finish.
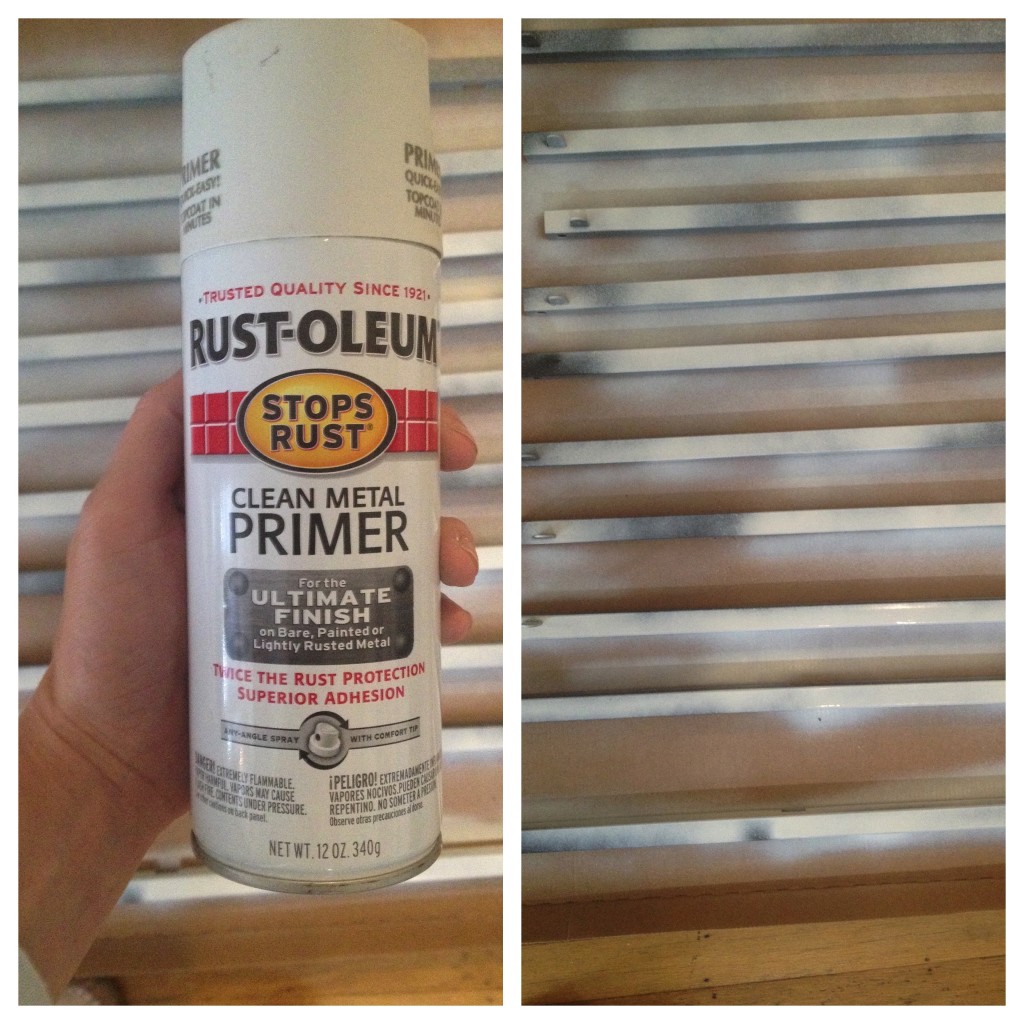 Images Via: Julia Goodwin Design
Primer: Place each prepped strut onto the plastic wrap. Shake the primer spray paint and proceed to cover the exposed edges, but be sure not to leave holidays (uncovered spots) and not to let the spray pool in any area. Now the hard part – letting the paint dry! Once dry, you can turn the struts over to finish the other sides.
Image Via: The Home Depot
For The Love Of Gold: Once all of the struts are prepped and completely dry, you can now proceed with the gold spray paint (insert happy dance)! Again, you have to be patient and let each side throughly dry before turning and spraying the other side. I chose to do this twice to ensure full coverage throughout the shelving unit.
Image Via: Ikea
When completely dry I put the unit together per the supplied instructions, checked for touch ups and adjusted any spots needed.
Image Via: Julia Goodwin’s Home Tour
When assembled, I placed it in the desired location and got to styling the bookcase. Styling isn’t easy and this too takes patience. For tips on obtaining your best shelfie, see here.
Image Via: Julia Goodwin’s Home Tour
There is nothing that makes me happier than having a home office that is as equally functional as it is easy on the wallet. Best part is, I can pull this desk into the center of the room and have friends over for a sit down dinner.
Image Via: Julia Goodwin’s Home Tour
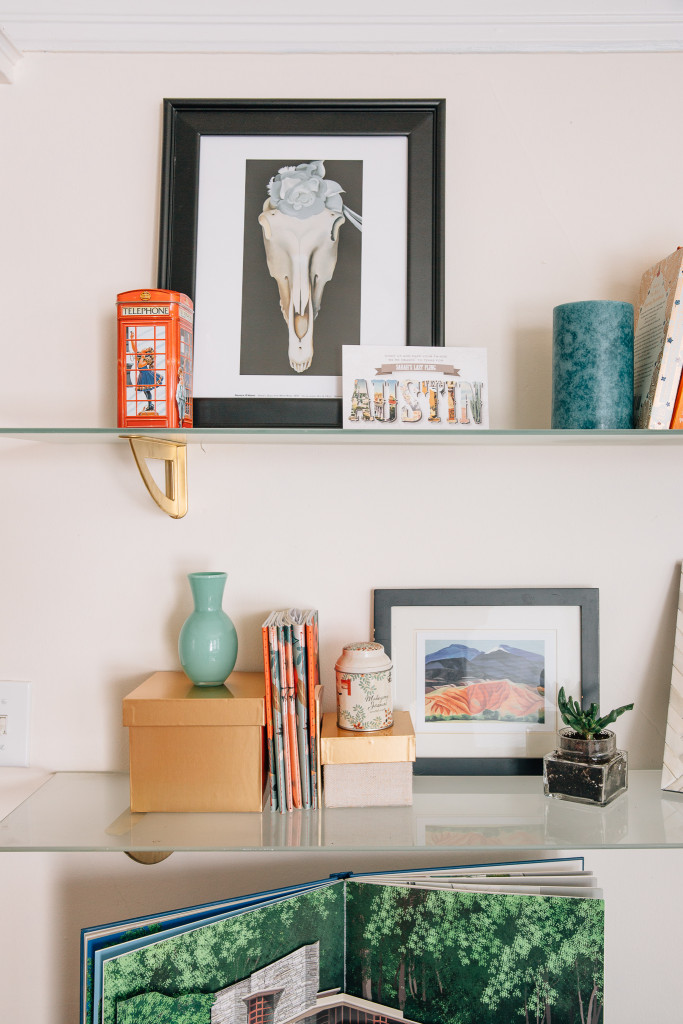
Can’t Stop, Won’t Stop: Alright, I’ll admin that I looked around with my paint can in-hand to see what else I might be able to repaint (come on I had extra spray paint left)! I noticed some shelving brackets that I had picked up in my college days, so I repeated the steps.
The best part of this DIY is that you get a huge bang for your buck. While the love of gold may eventually fade, the price is right. That said, I’ve had these items for a couple of years now, and they still put a smile on my face – totally worth it, right?
– Hope you are inspired to add your own touch of gold into your manicured home!

