
Dont’ you love it when your DIY turns out better than you could have hoped for? To be honest, I went into this project a little uneasy. But let’s start from the beginning – when we bought our home, we loved all the character, but the fireplace tile in our living room was keeping me out of the space, it was bad, simply awful. We have plans for a pretty big remodel in the near future but even that seemed a little too far off for me to keep living with the red and green tile that almost look like it was sponged on – no thanks!
Due to the wedding and all the tiny details, I pretty much had put all home projects on hold. So I was chomping at the bit to get this project done as soon as our plane landed after our honeymoon. I started on the weekend and just a few days later I feel like I have a brand new fireplace! I loved it so much I called up my friend and photographer, Elena Graham – she is amazing, be sure to check out her work (she also photographed our wedding).
Thank you to MarthaStewart.com for posting this DIY project – see it here.
If you love how it’s styled, get the look beyond paint at the bottom of this post!
First, the before photo – who doesn’t love a good before and after?
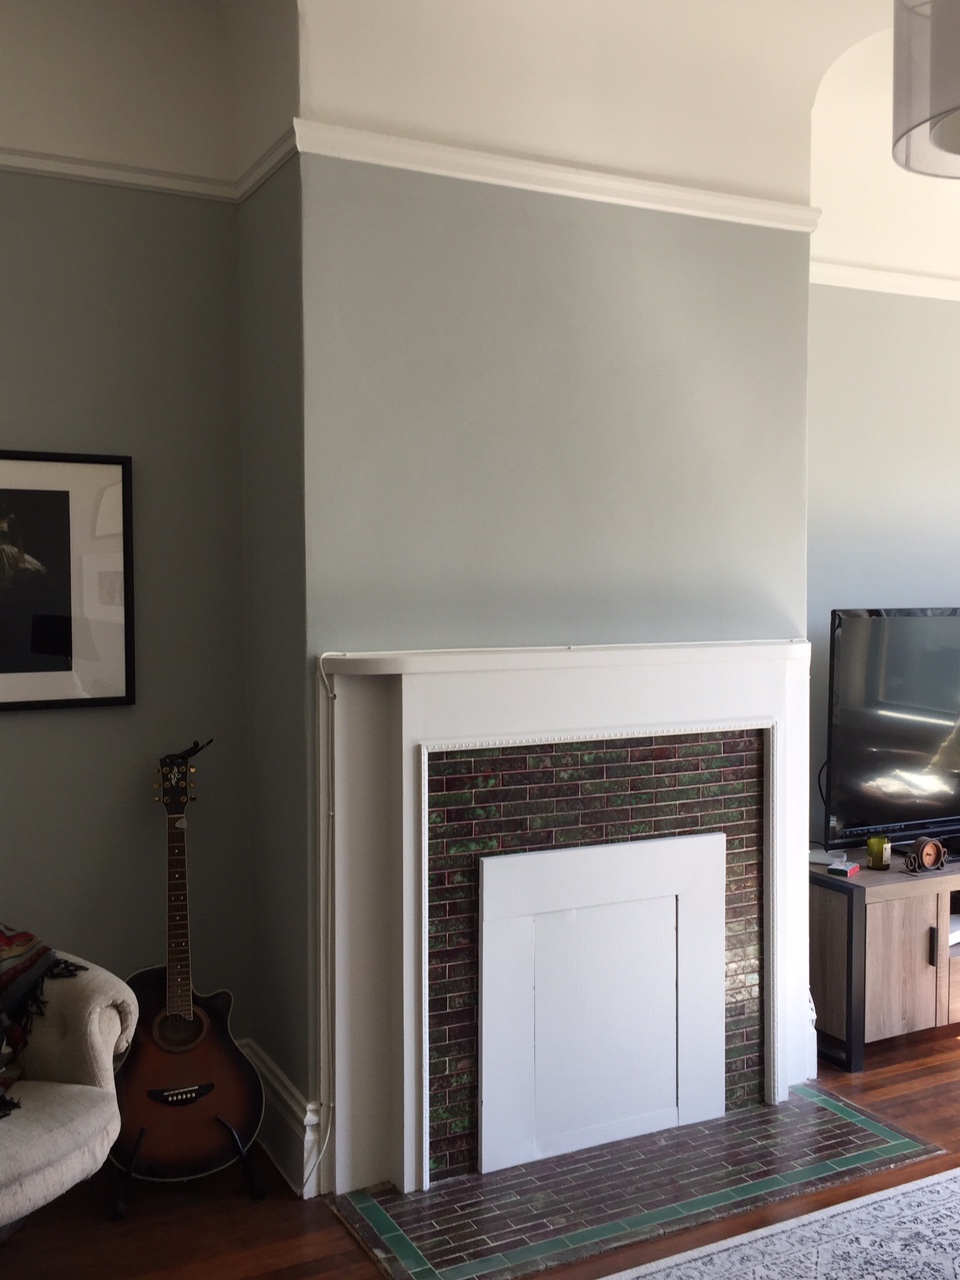
This before photo just makes my cringe.

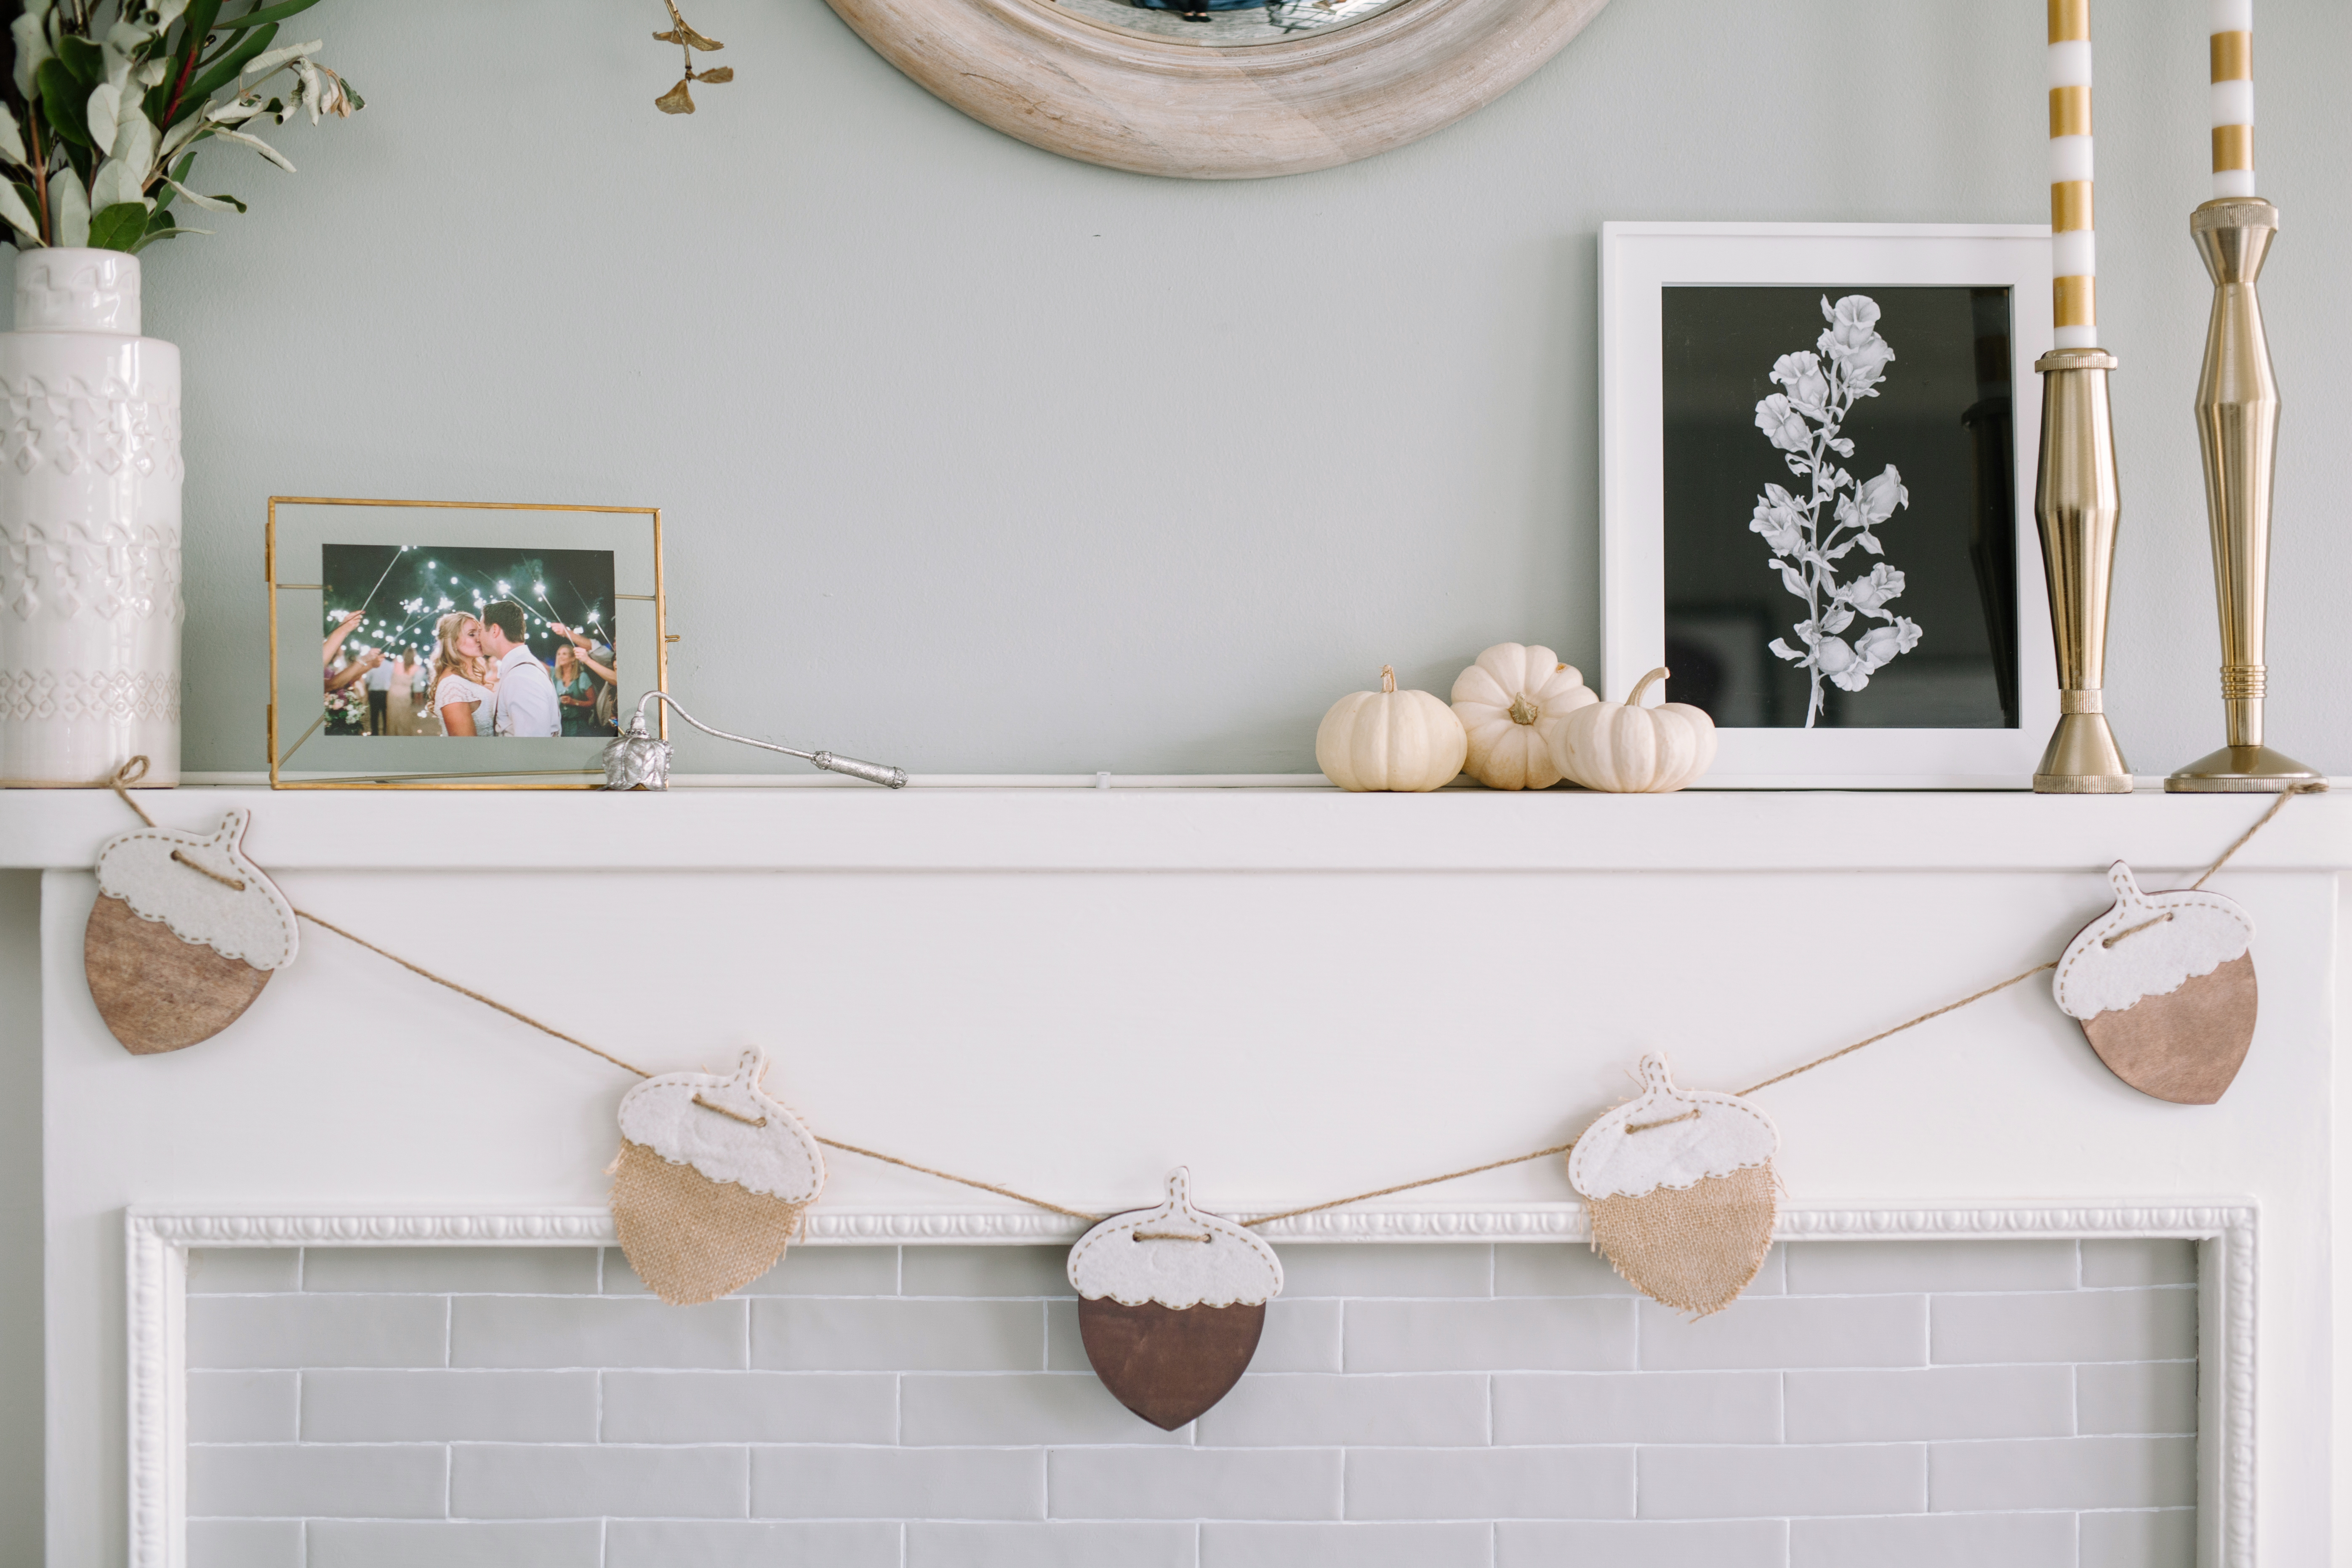
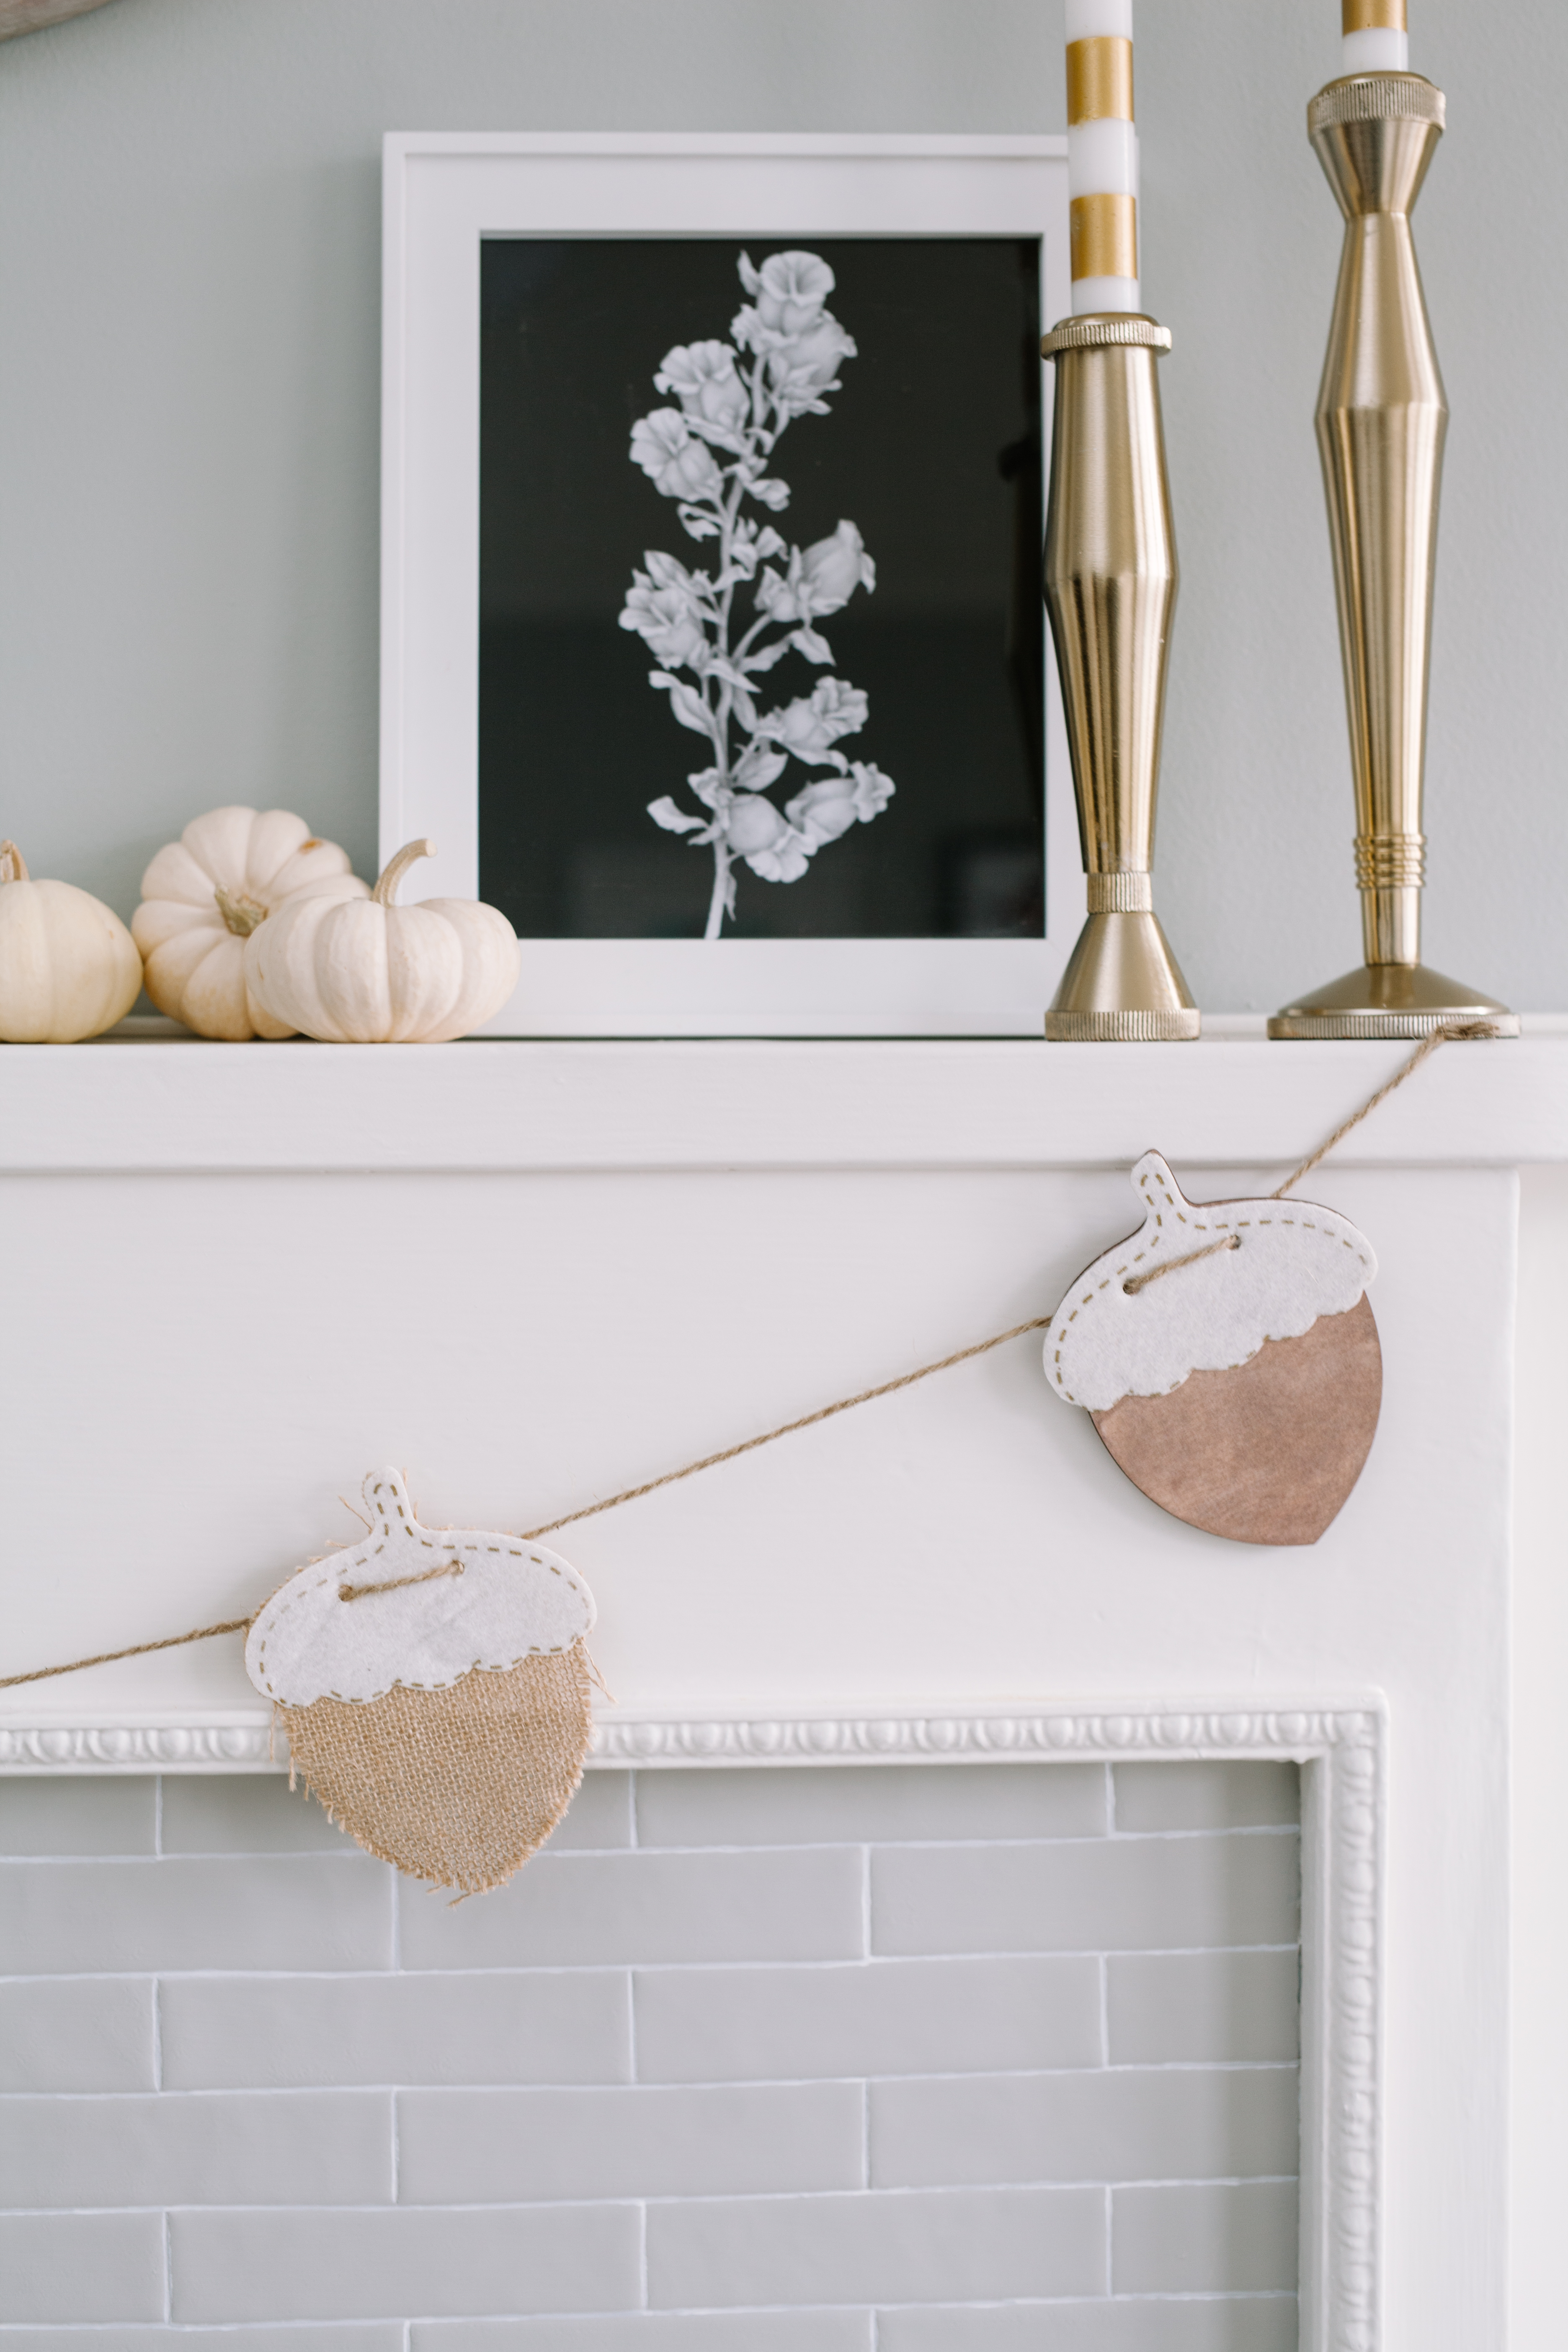
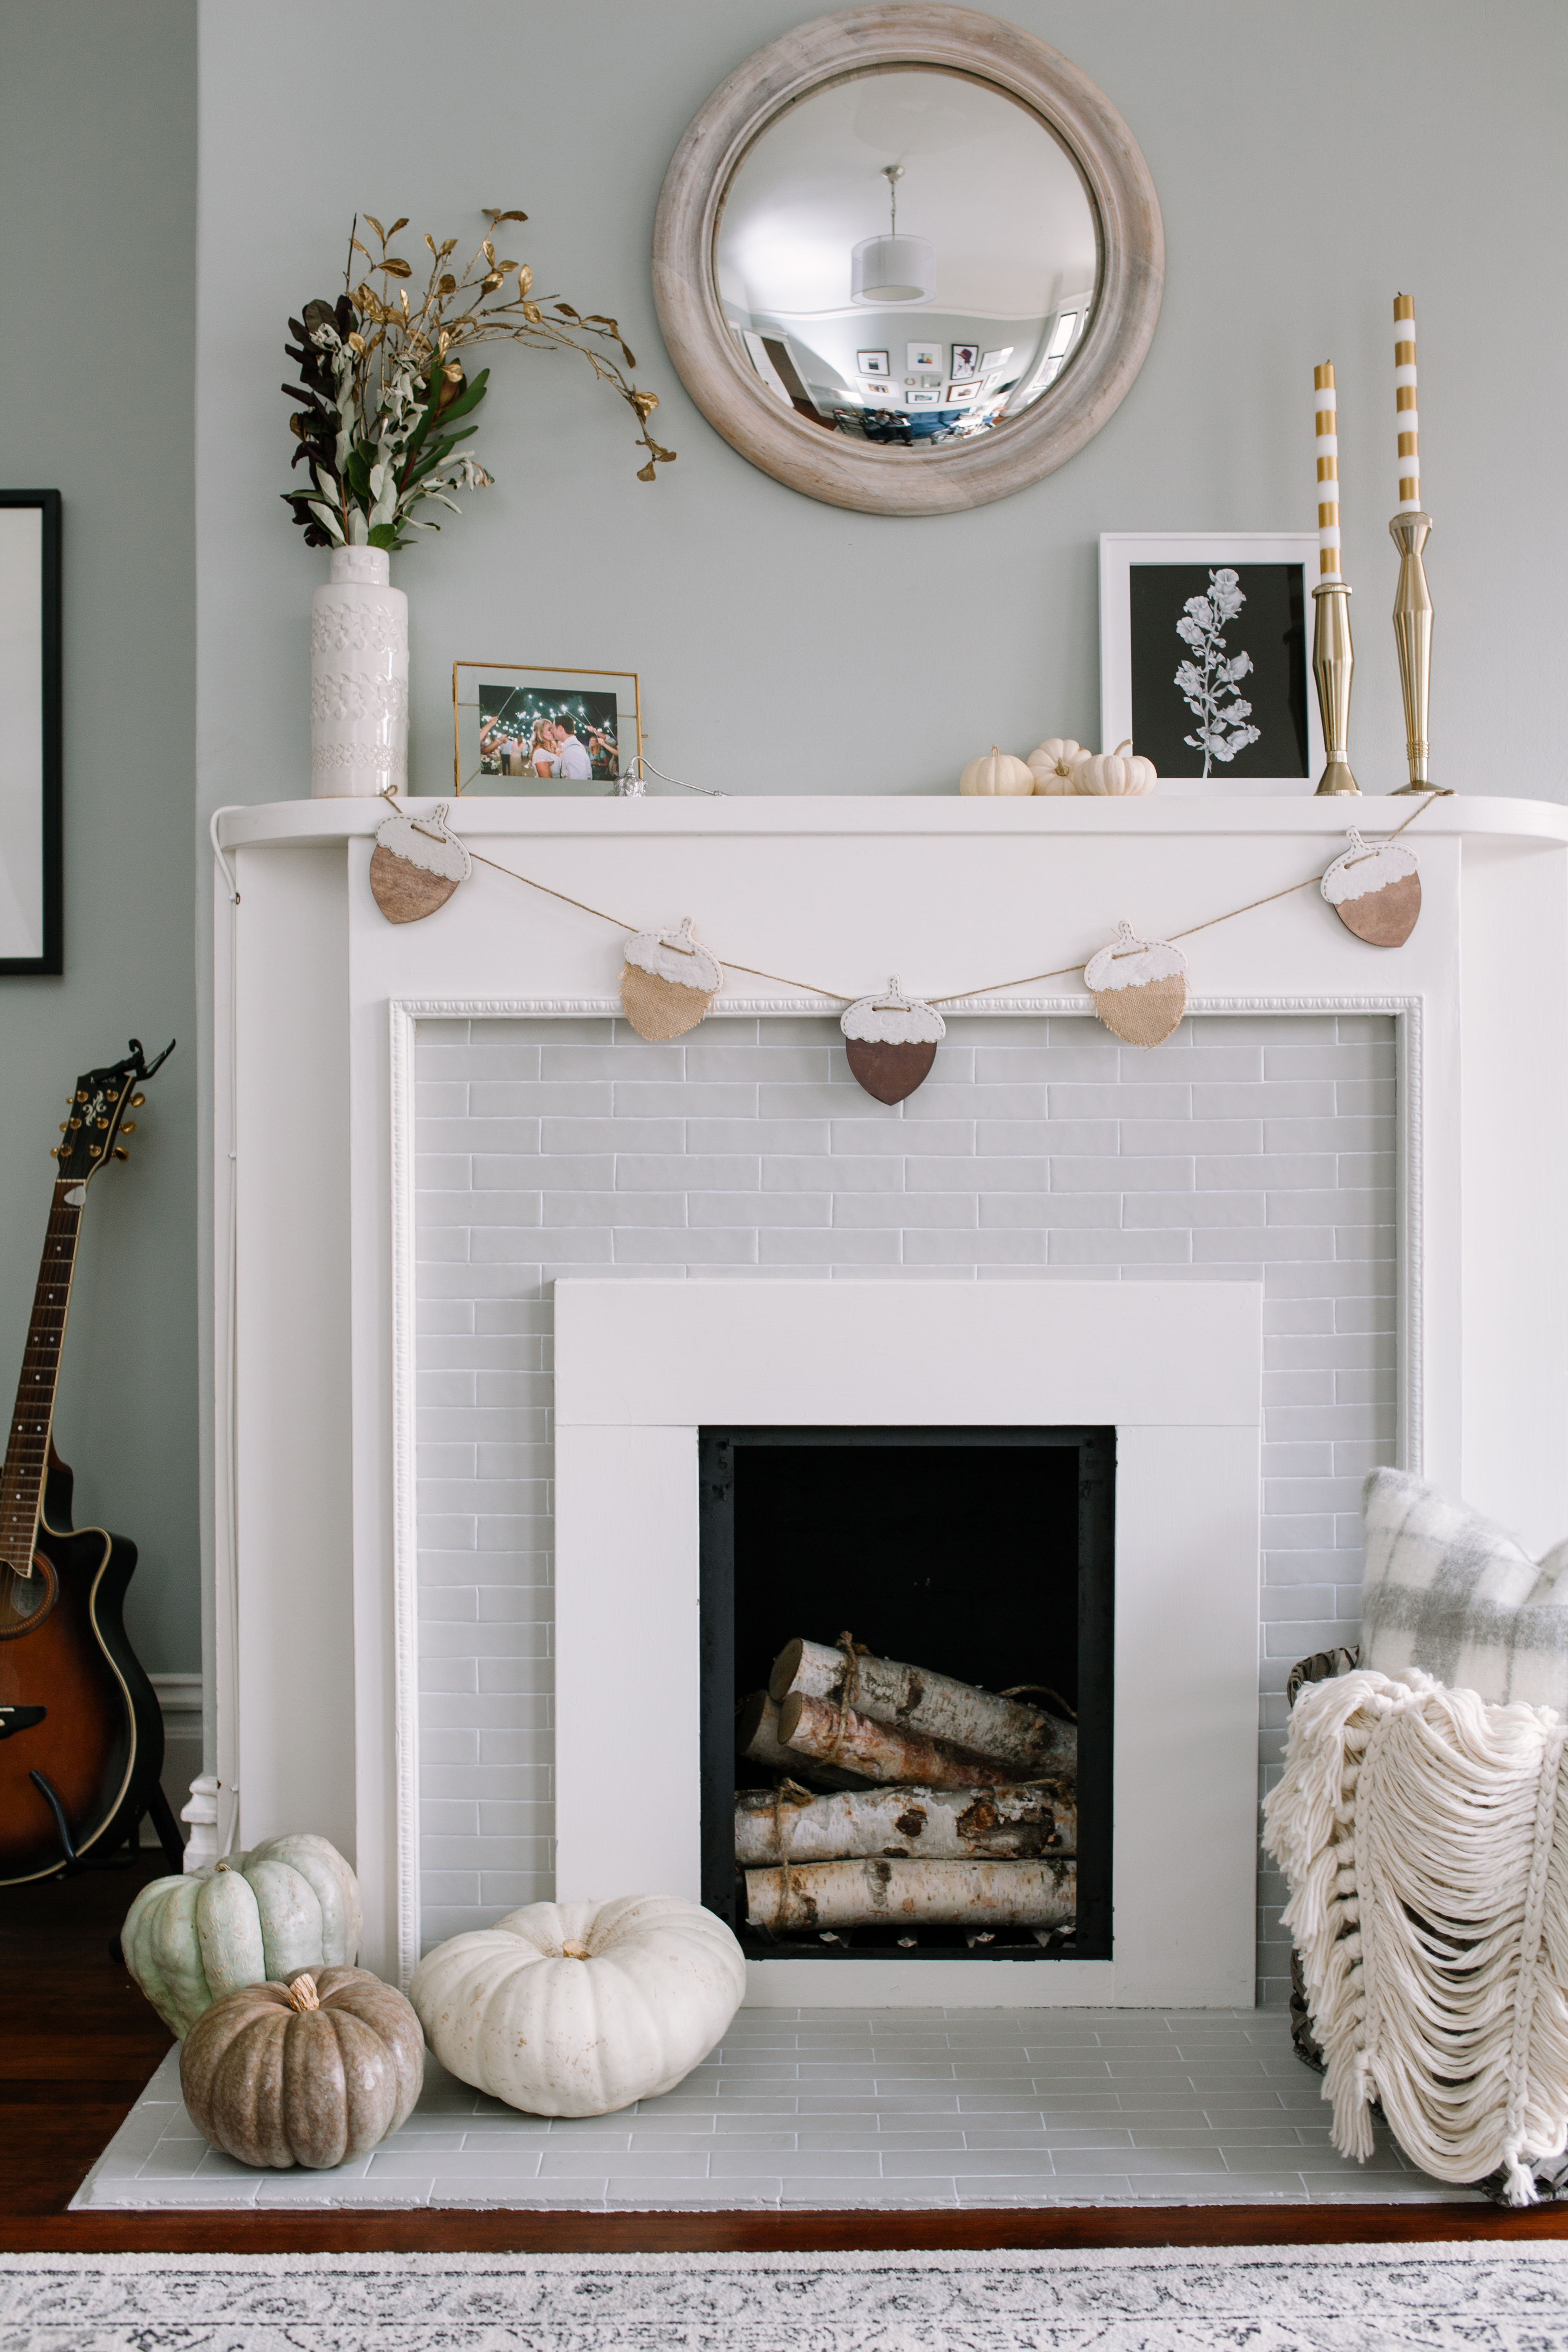
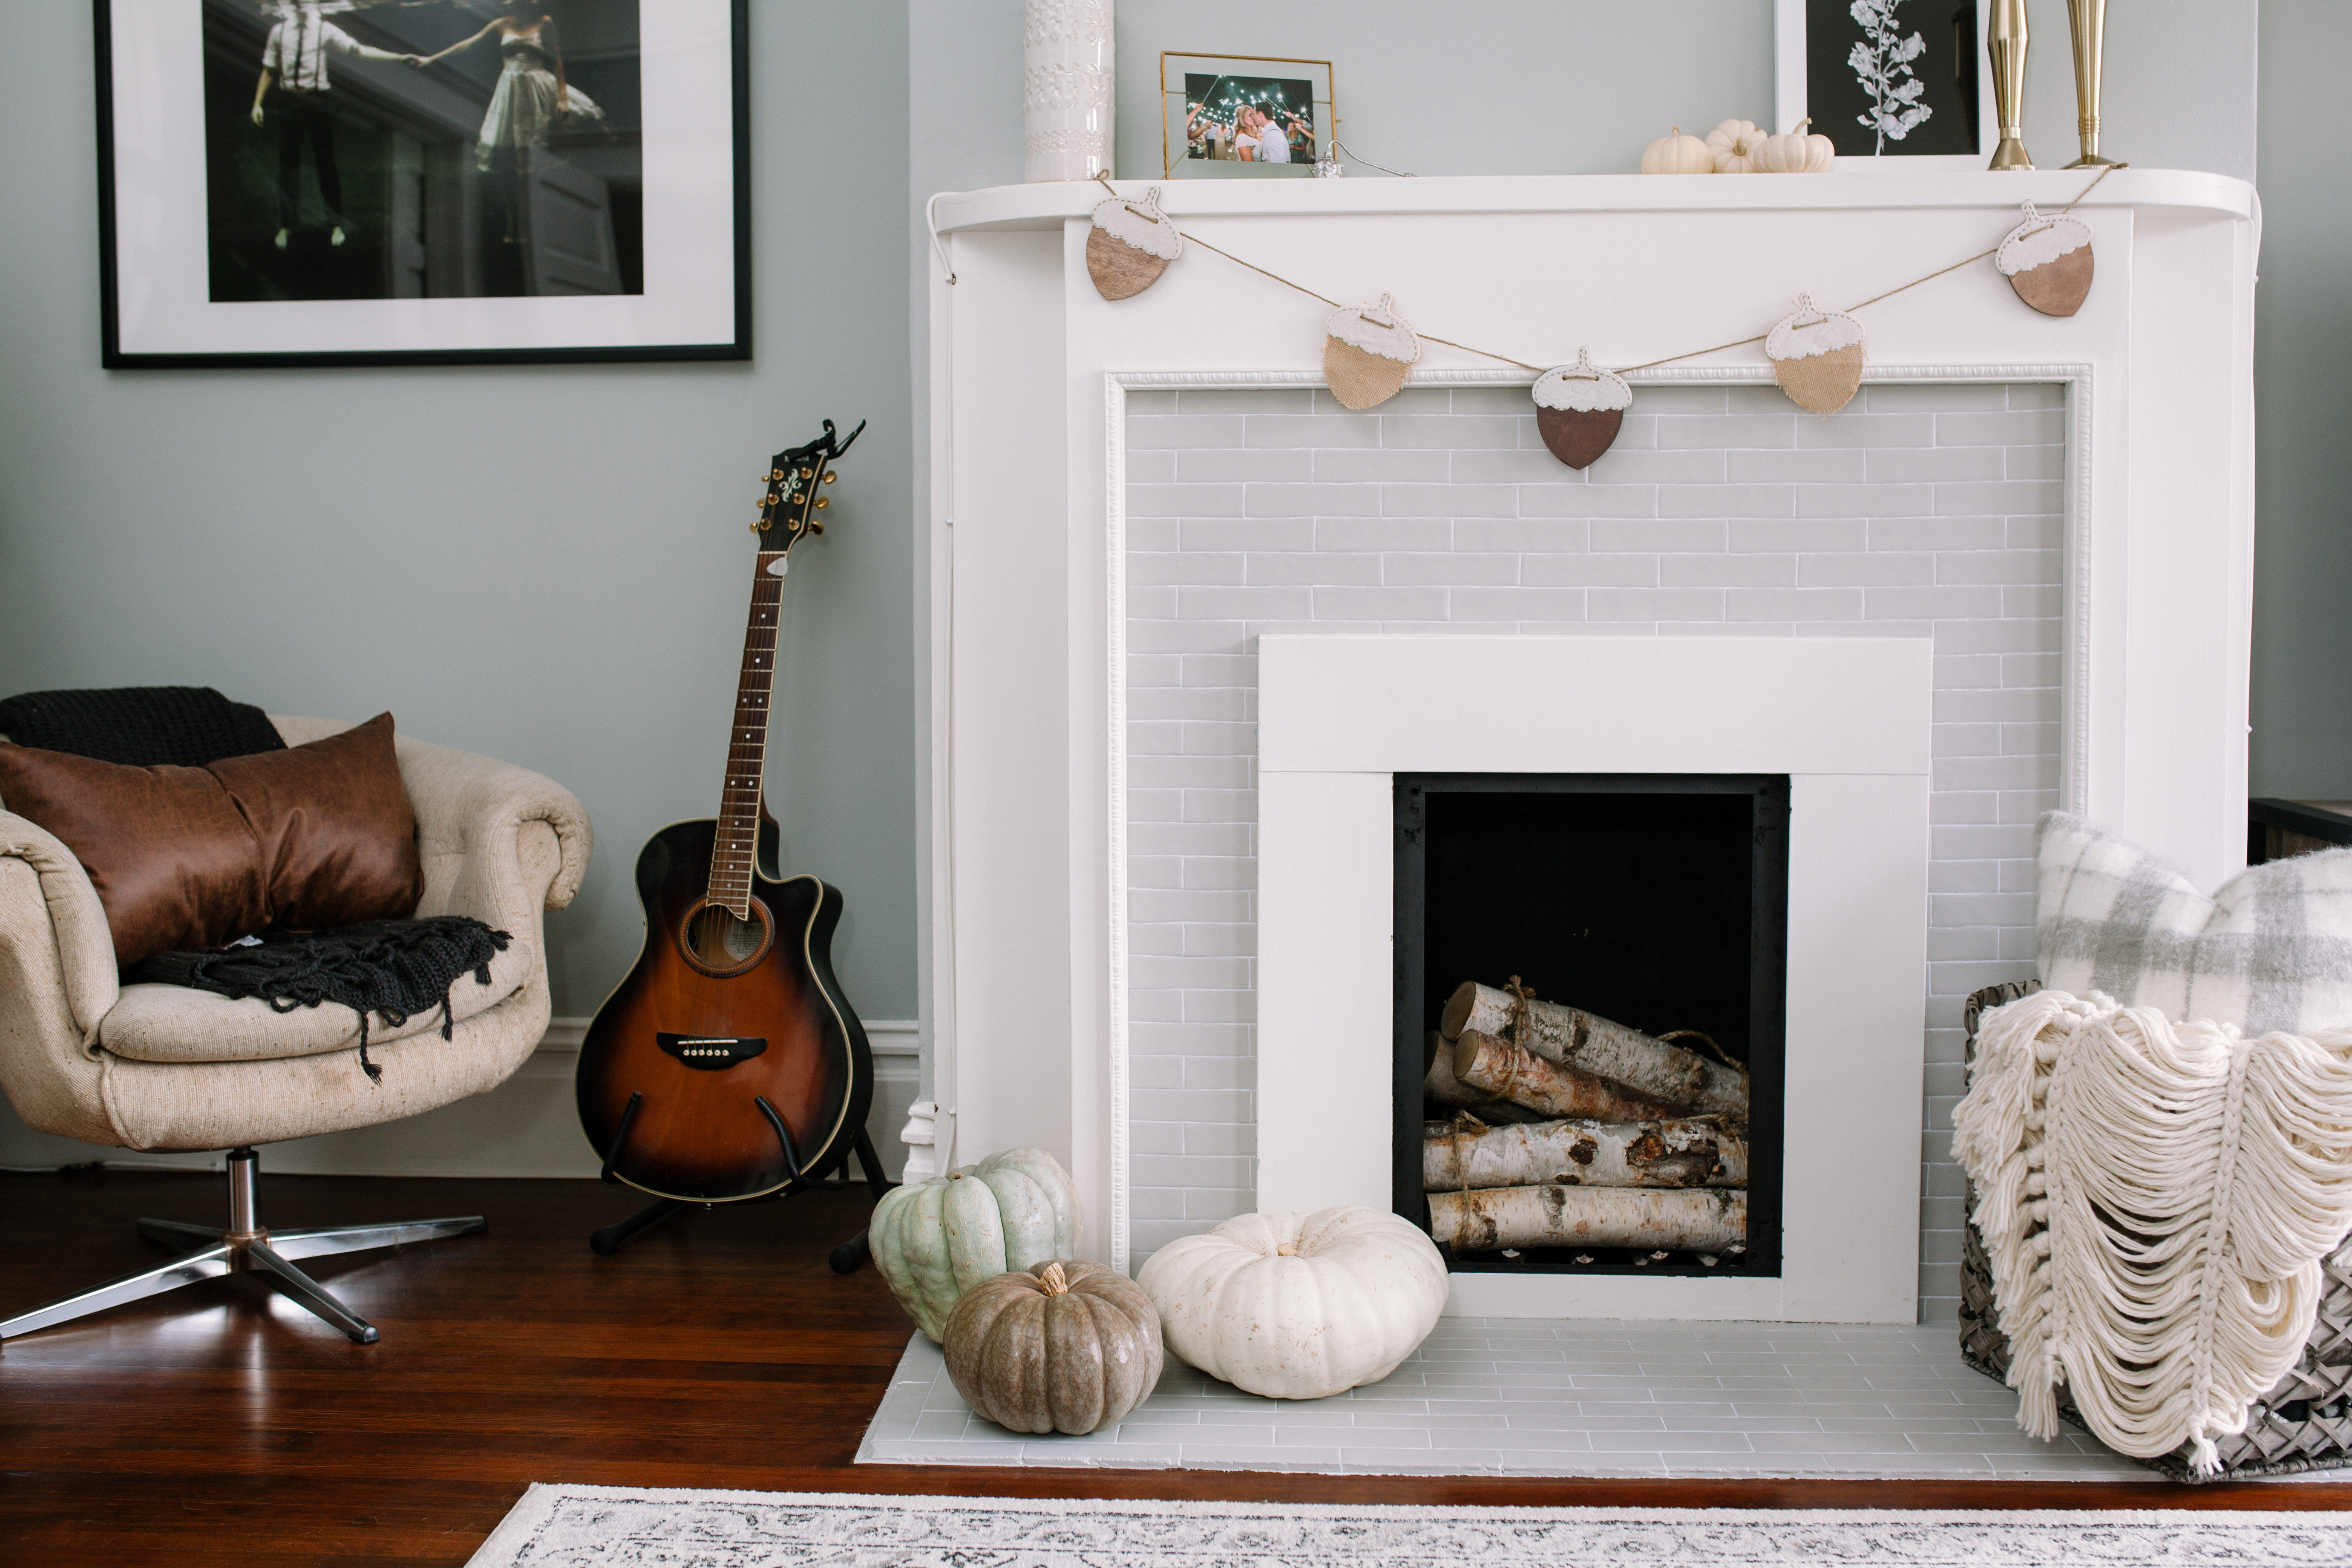
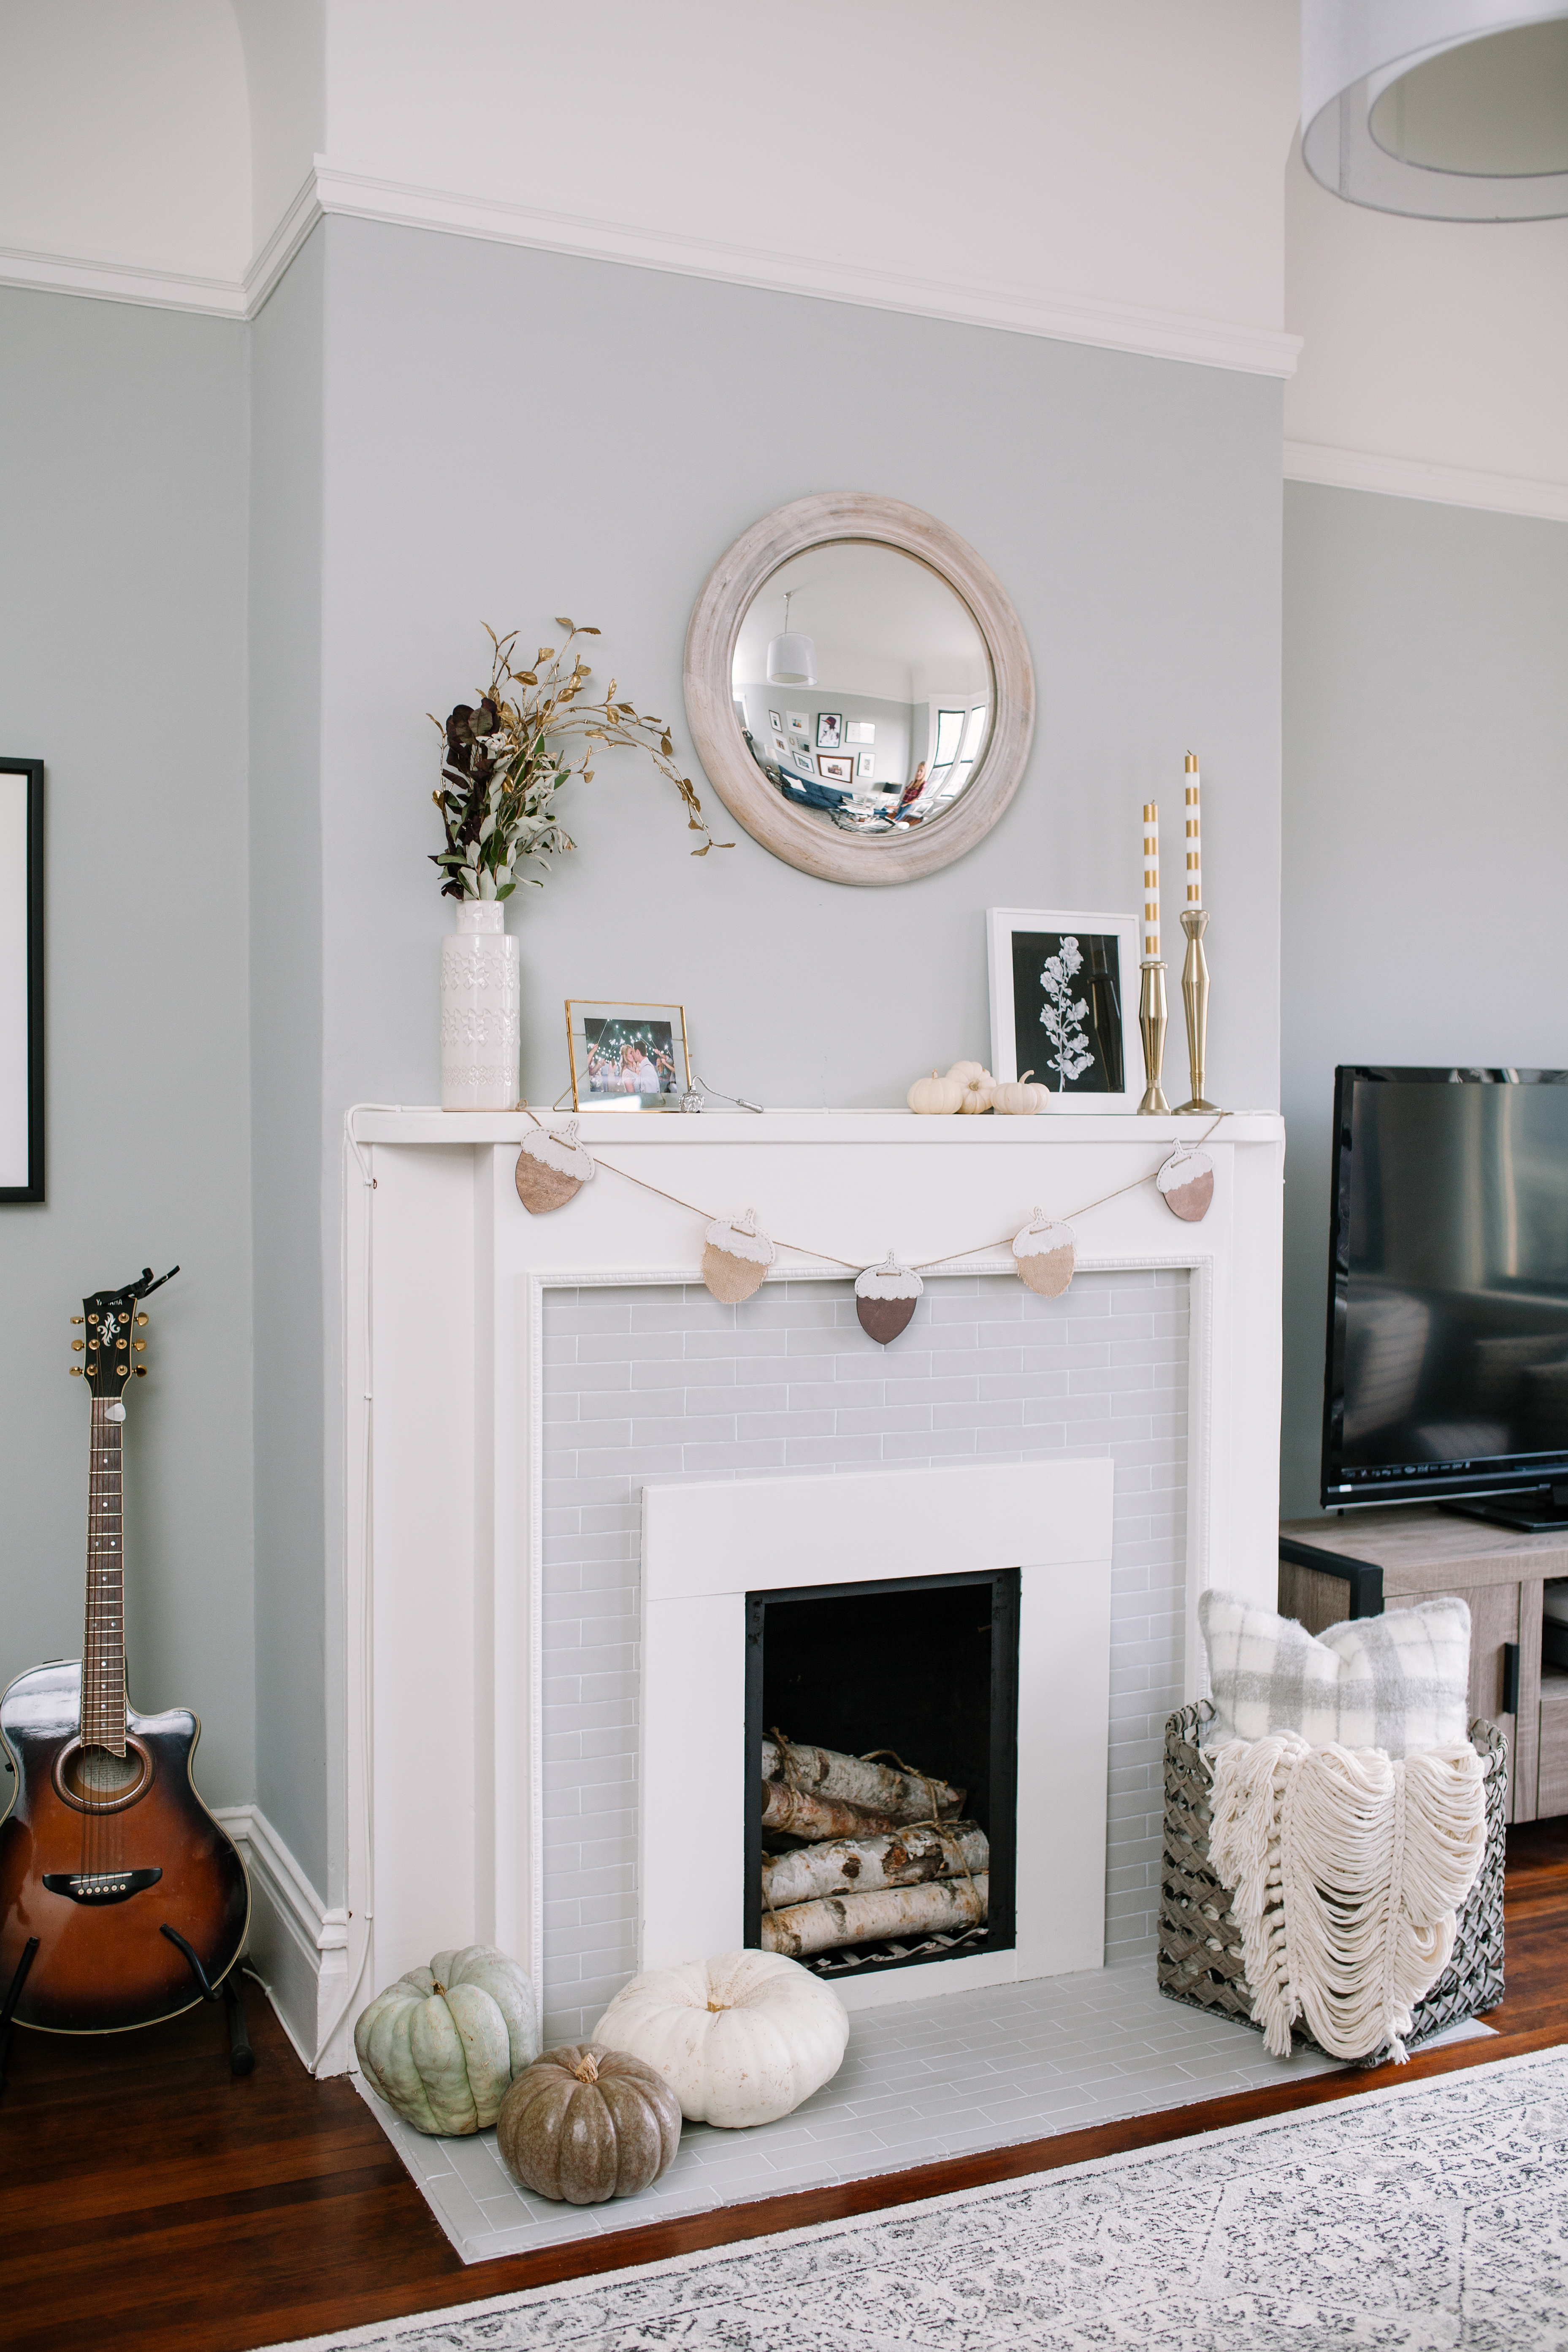
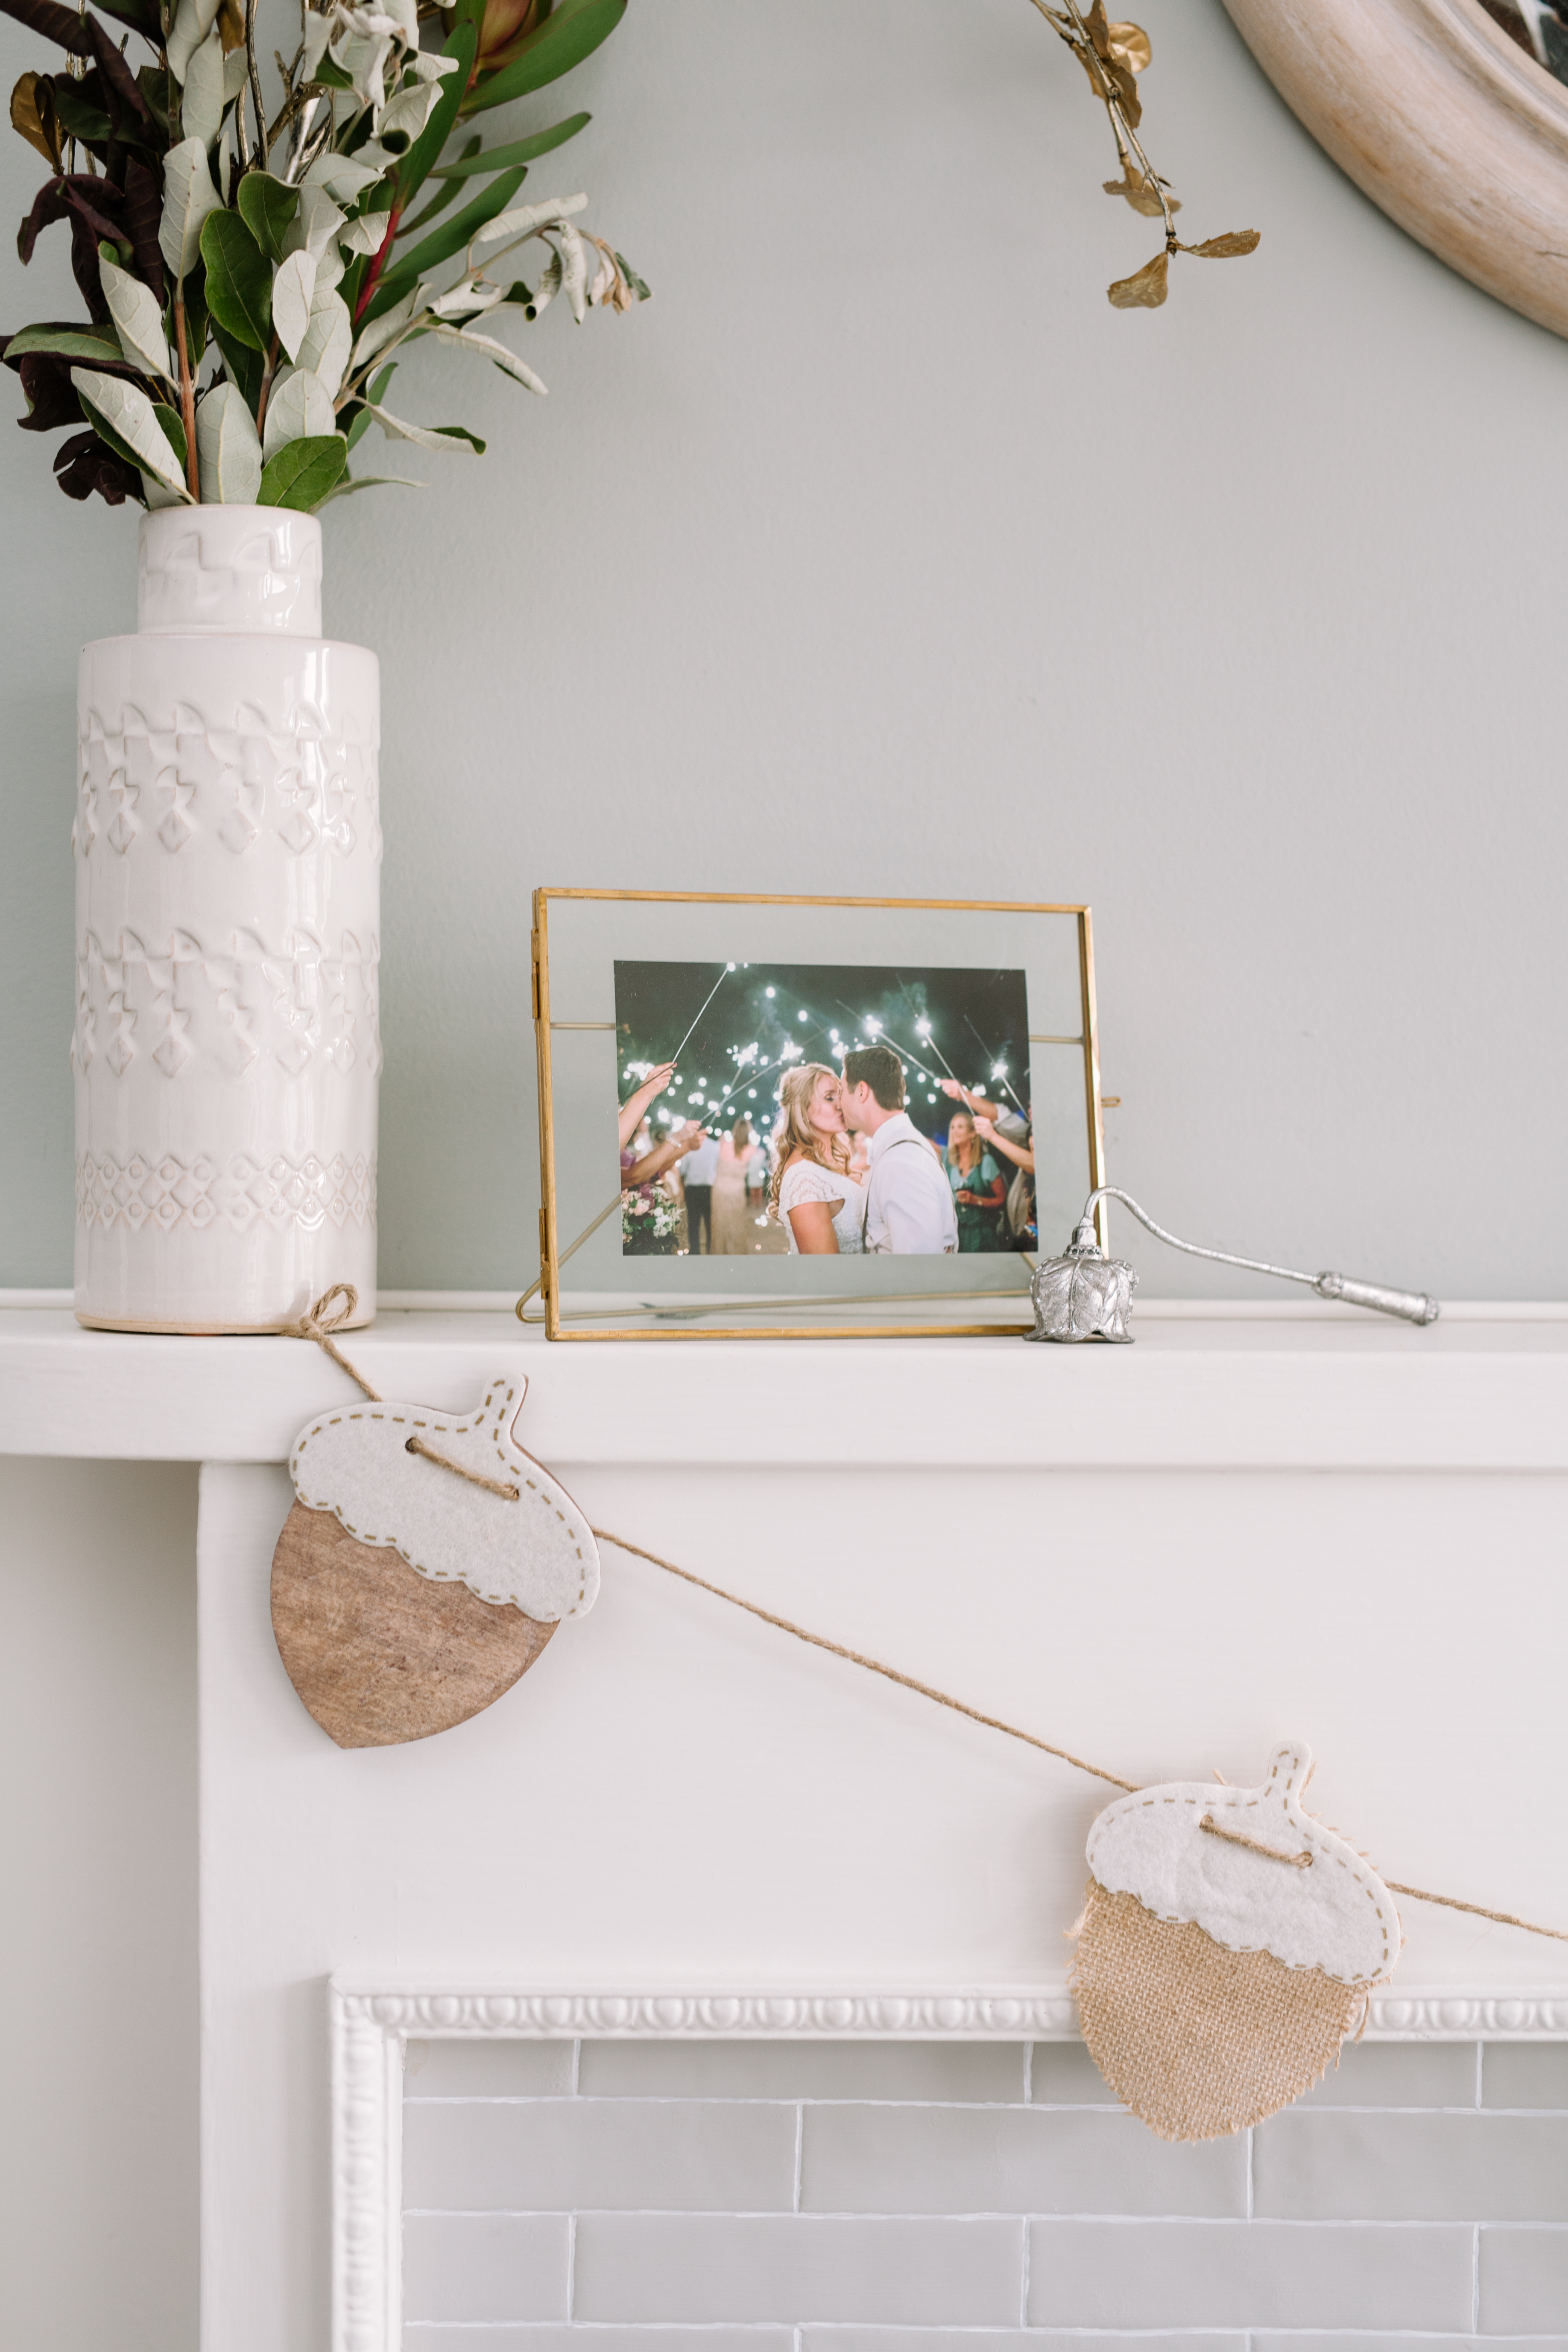
The AFTER! { squeals of excitement are still happening over it }
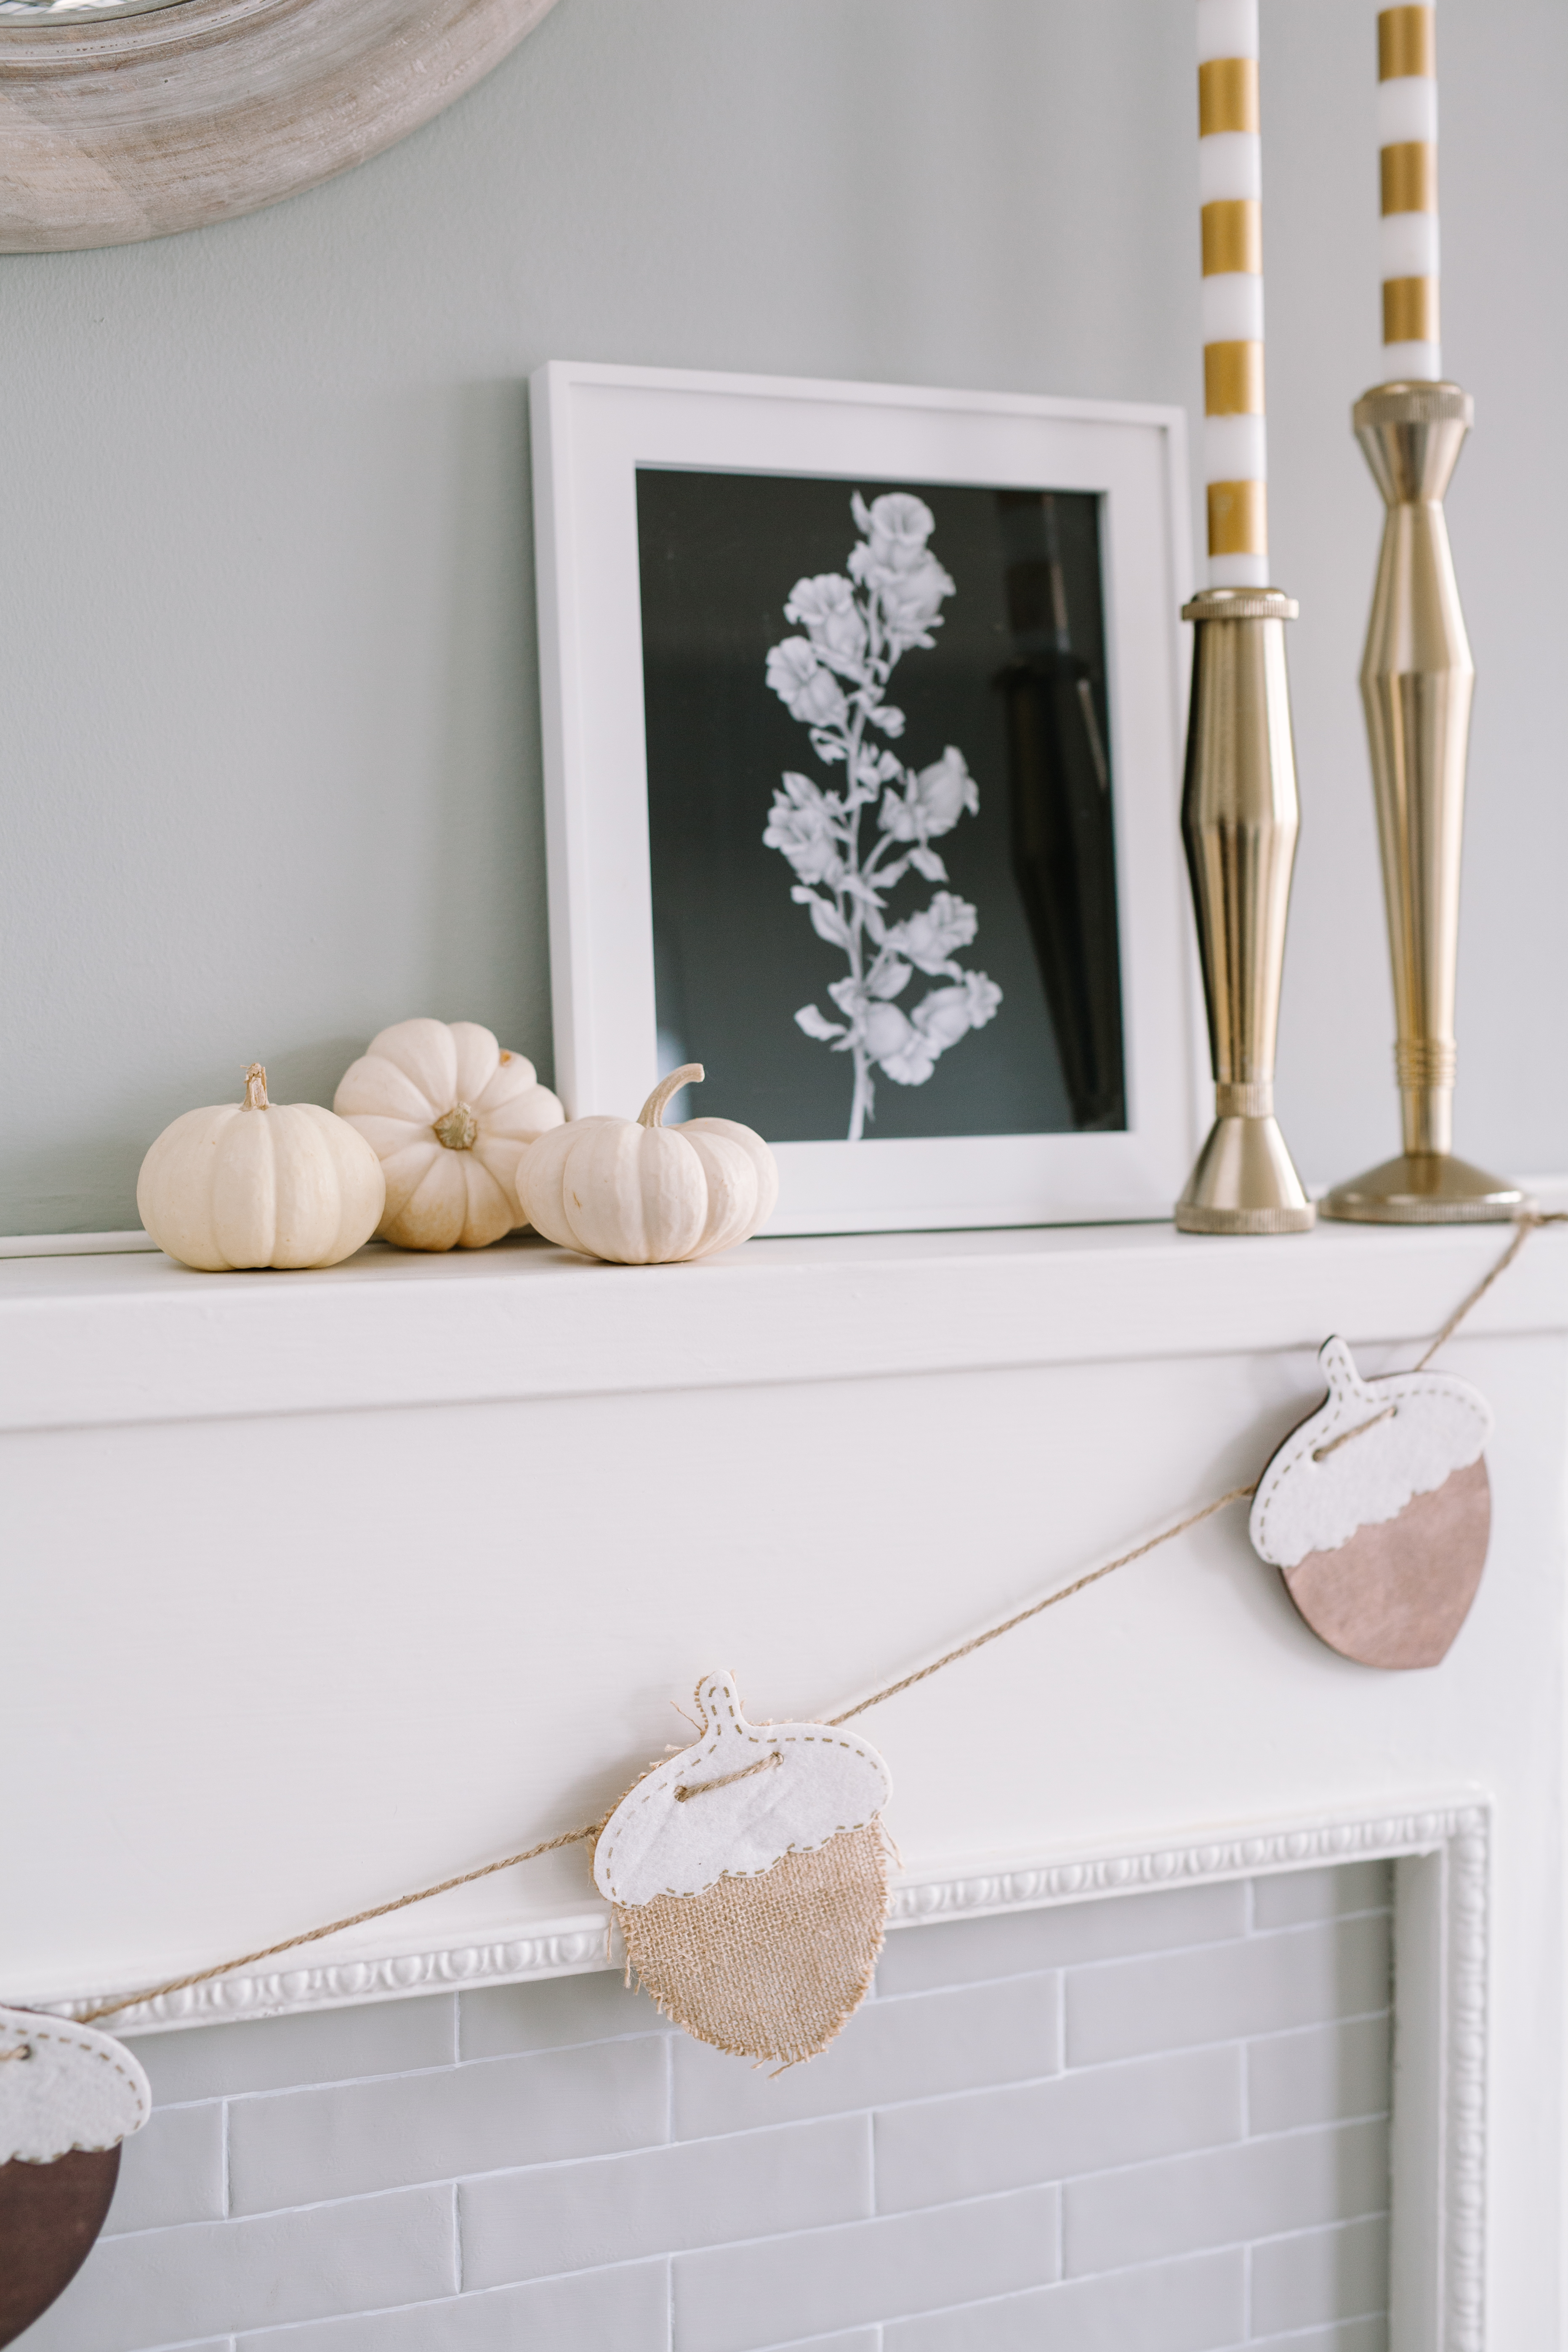
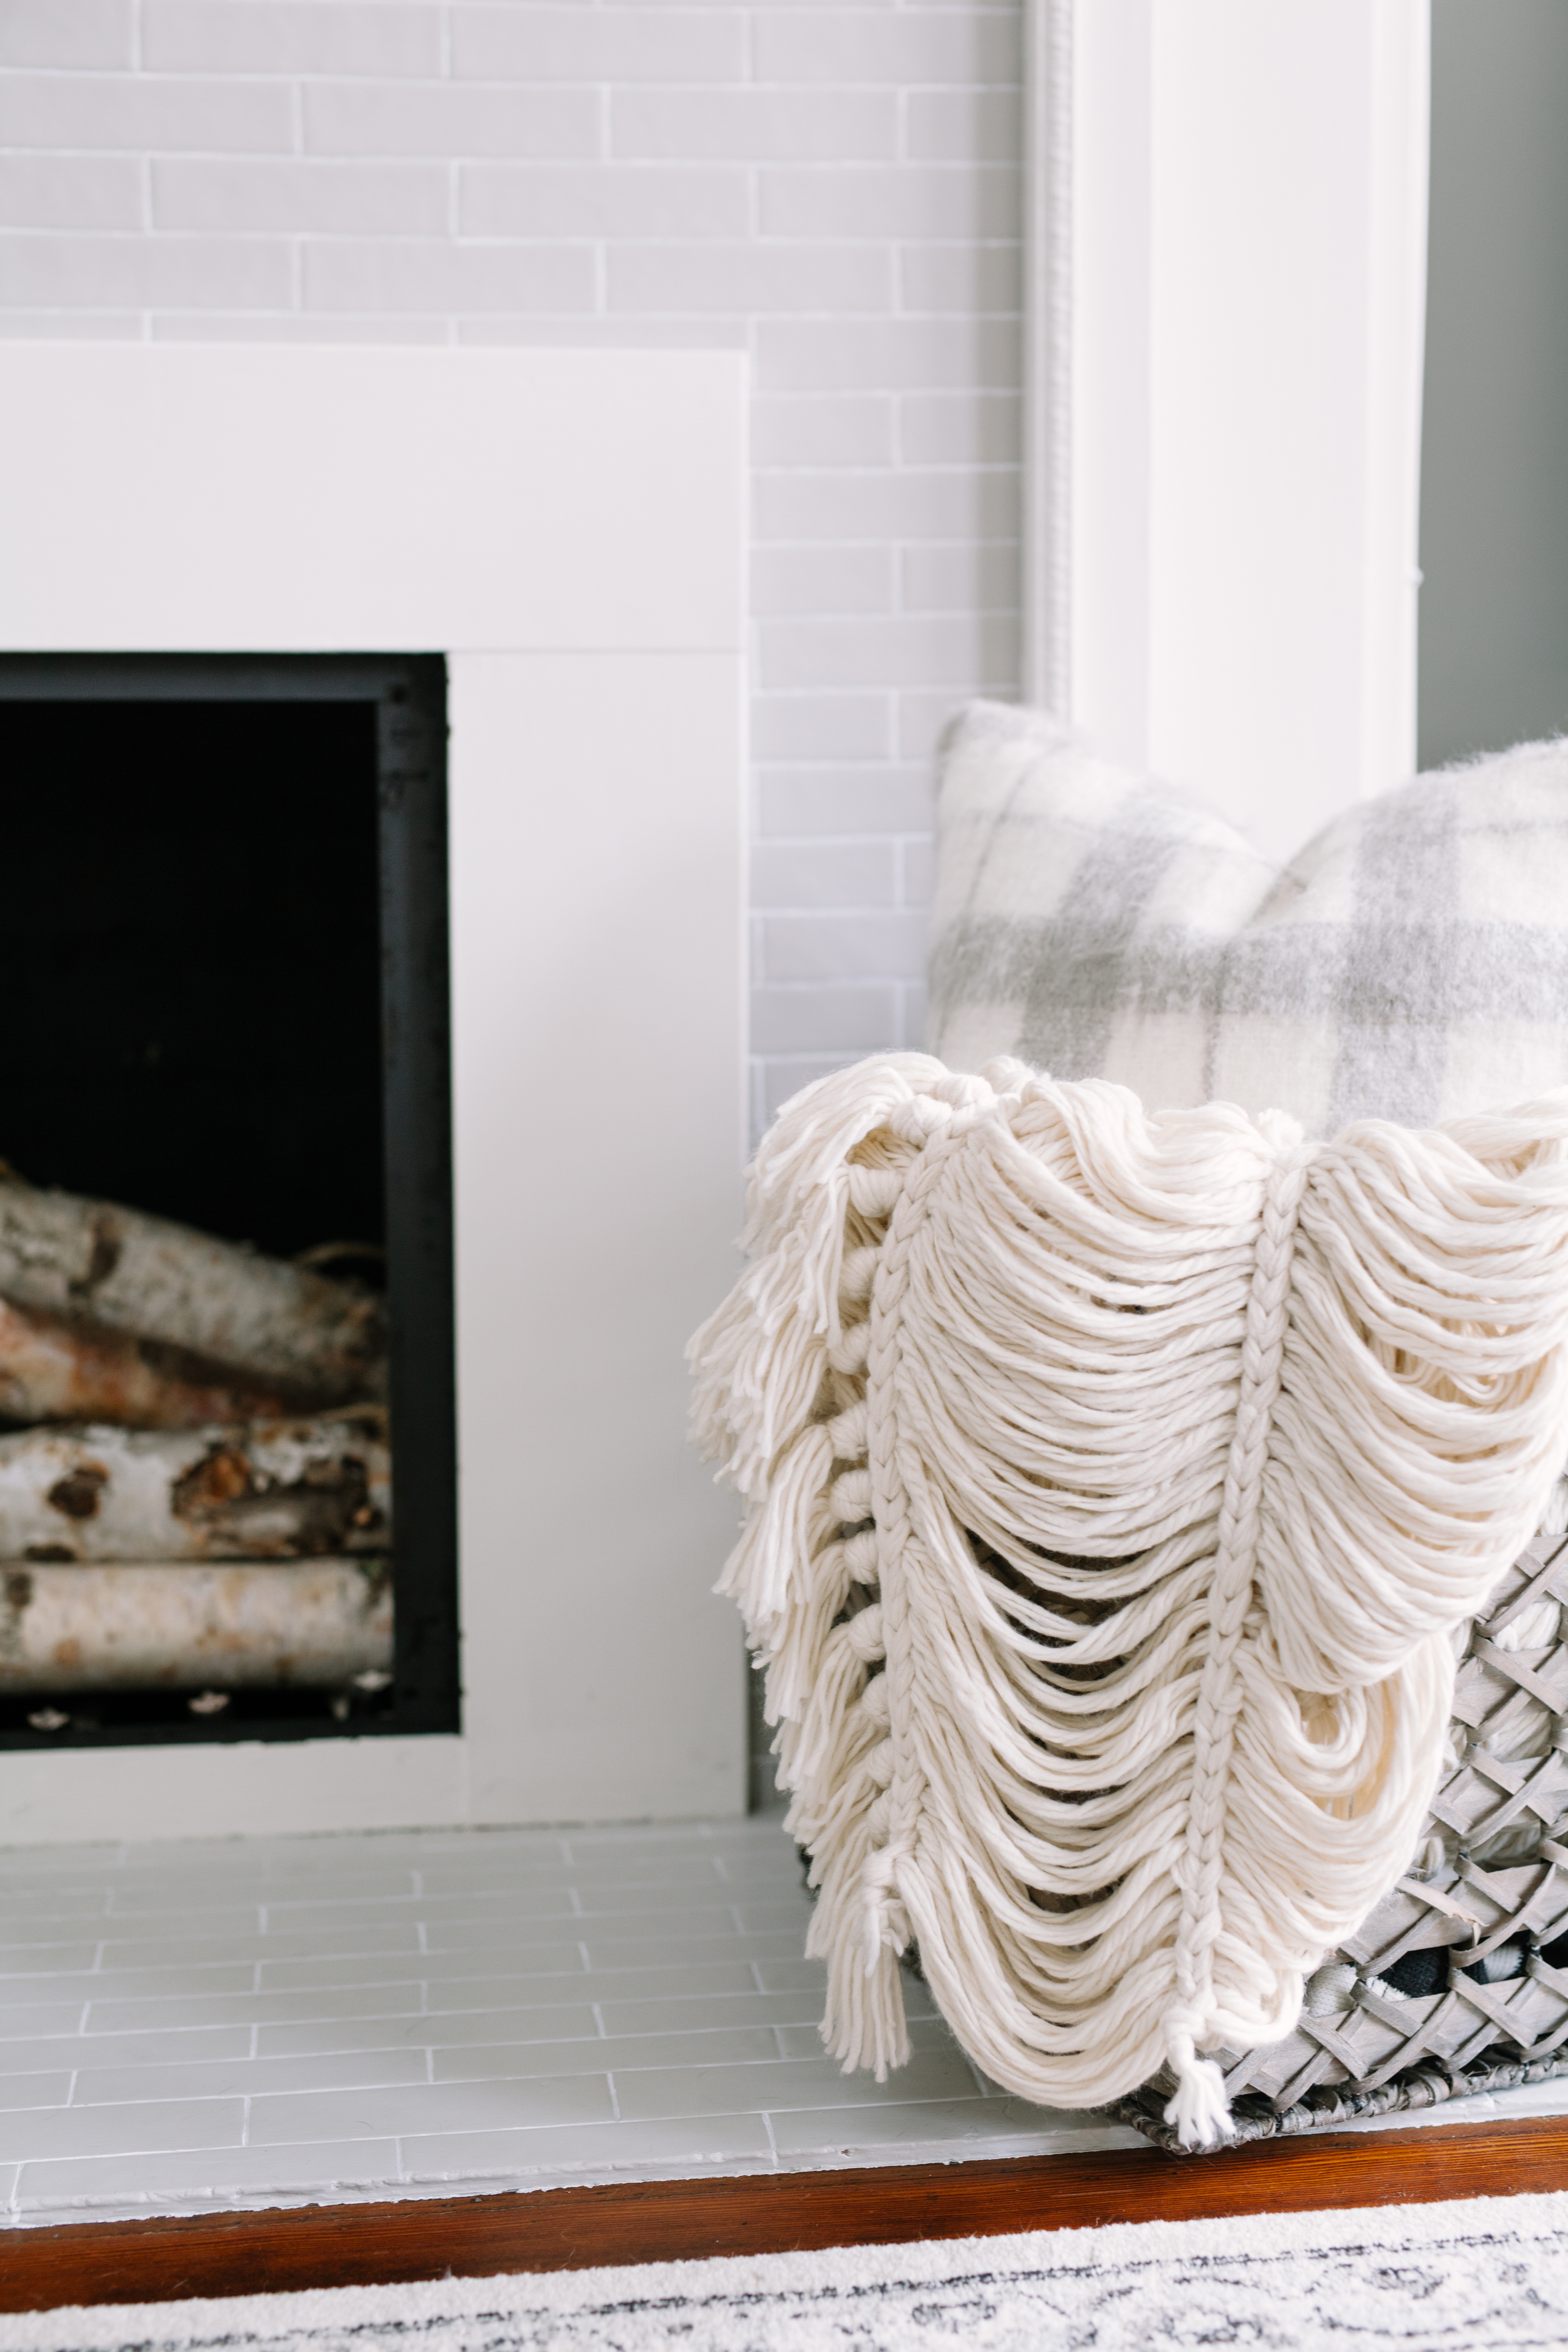
This was such a rewarding DIY project for me. This room is now my favorite place to relax in the house!
(when you simply can’t live with what tile you have and don’t want to rip it out – for now).
Supplies
Black High Heat Spray Paint (be sure to do this with all the windows open and a mask if possible).
Paint Spray Nozzle – highly recommend this!
2 Flat paint brushes – for tile paint and primer
1 fine tip paint brush – for grout lines
Zinsser Bulls Eye 1-2-3 Paint Primer
Paint color of choice for your tile – I chose 1550 Cumulus Cloud by Benjamin Moore in an eggshell finish
Paint color of choice for your grout – I chose Wedding Cake Multi-Surface High Gloss Acrylic Craft Paint from Martha Stewart.
Painters tape – I like this one
Step 1 – Interior of fireplace
The white cover (as seen in the before image) on the fireplace was placed there when by the original owner. I pulled it off and was pretty happy to discover there was a gas line (capped off) behind it. We called in the handyman to check it out, cut it shorter, and recap it as it came out pretty far. We will be completely re-doing the fireplace later so it was a nice to know the gas line was already there for future use. The interior of the fireplace was not something I was going to scrub down to get perfectly clean. Black spray paint for high heat areas was the answer (after a quick vacuum that is). To use the spray paint, tape off the fireplace and laydown material to protect the surrounding area. Spray the entire interior of the fireplace with the high heat spray paint – color of your choice.
*** this is a nonworking fireplace, please consult your local contractor if you plan to use your fireplace.
Step 2 – Prep work
It’s all in the prep people! Ugh, I know – the prep is the worst part but trust me it’s always worth it. Clean the surrounding area and tile with water and soap and then allow to fully dry. Tape off the fireplace and surrounding area to prep for paint.
Step 3 – Prime
Apply primer – since the existing tile was dark, it took 3 coats. While the primer dries fast I spread it out over 2.5 days before moving on.
Step 4 – Paint
Apply paint color of choice – again, I let it dry a good 12 hours between the two coats. Once fully dried, remove tape and touch up if needed (allow touch up spots to dry before moving on to step 4)
Step 4 – Grout
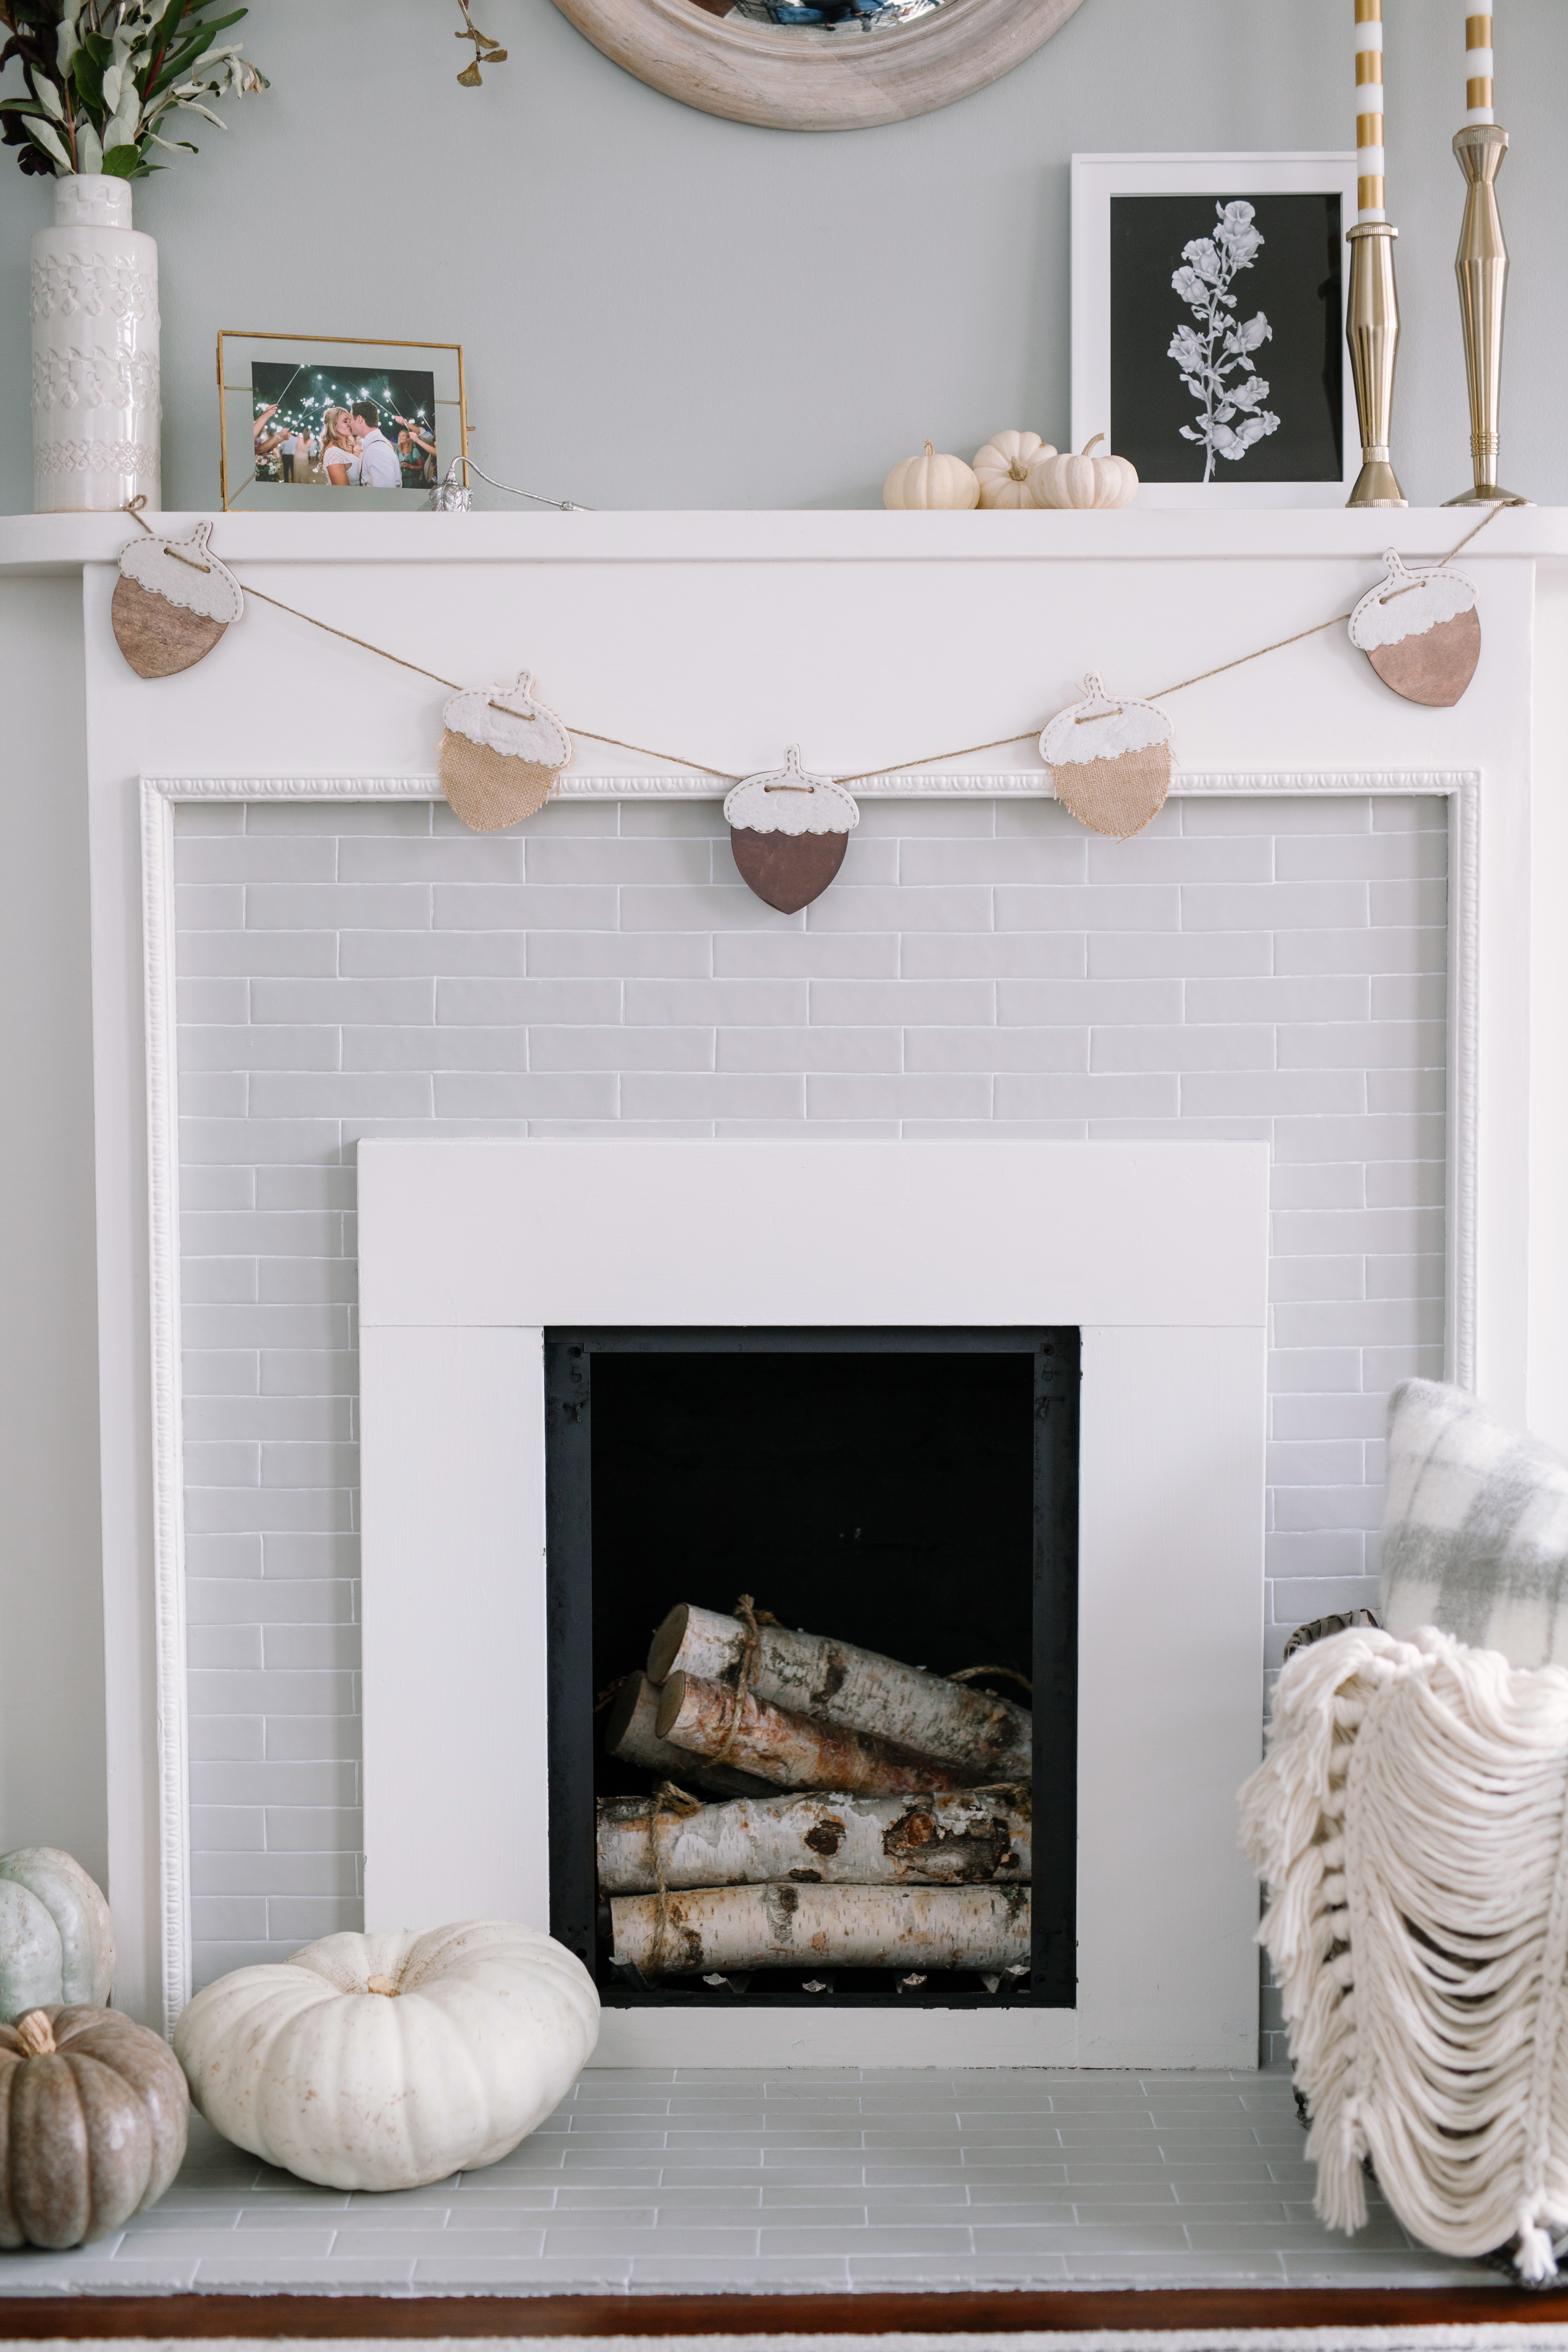
Now this step took a little longer than I expected. The tile had all shifted over the years but I did a fine line between each tile for the grout – not bad right? Turn on a movie you love, pour a glass of wine (or two) and soon enough, it actually becomes pretty relaxing painting all those lines.
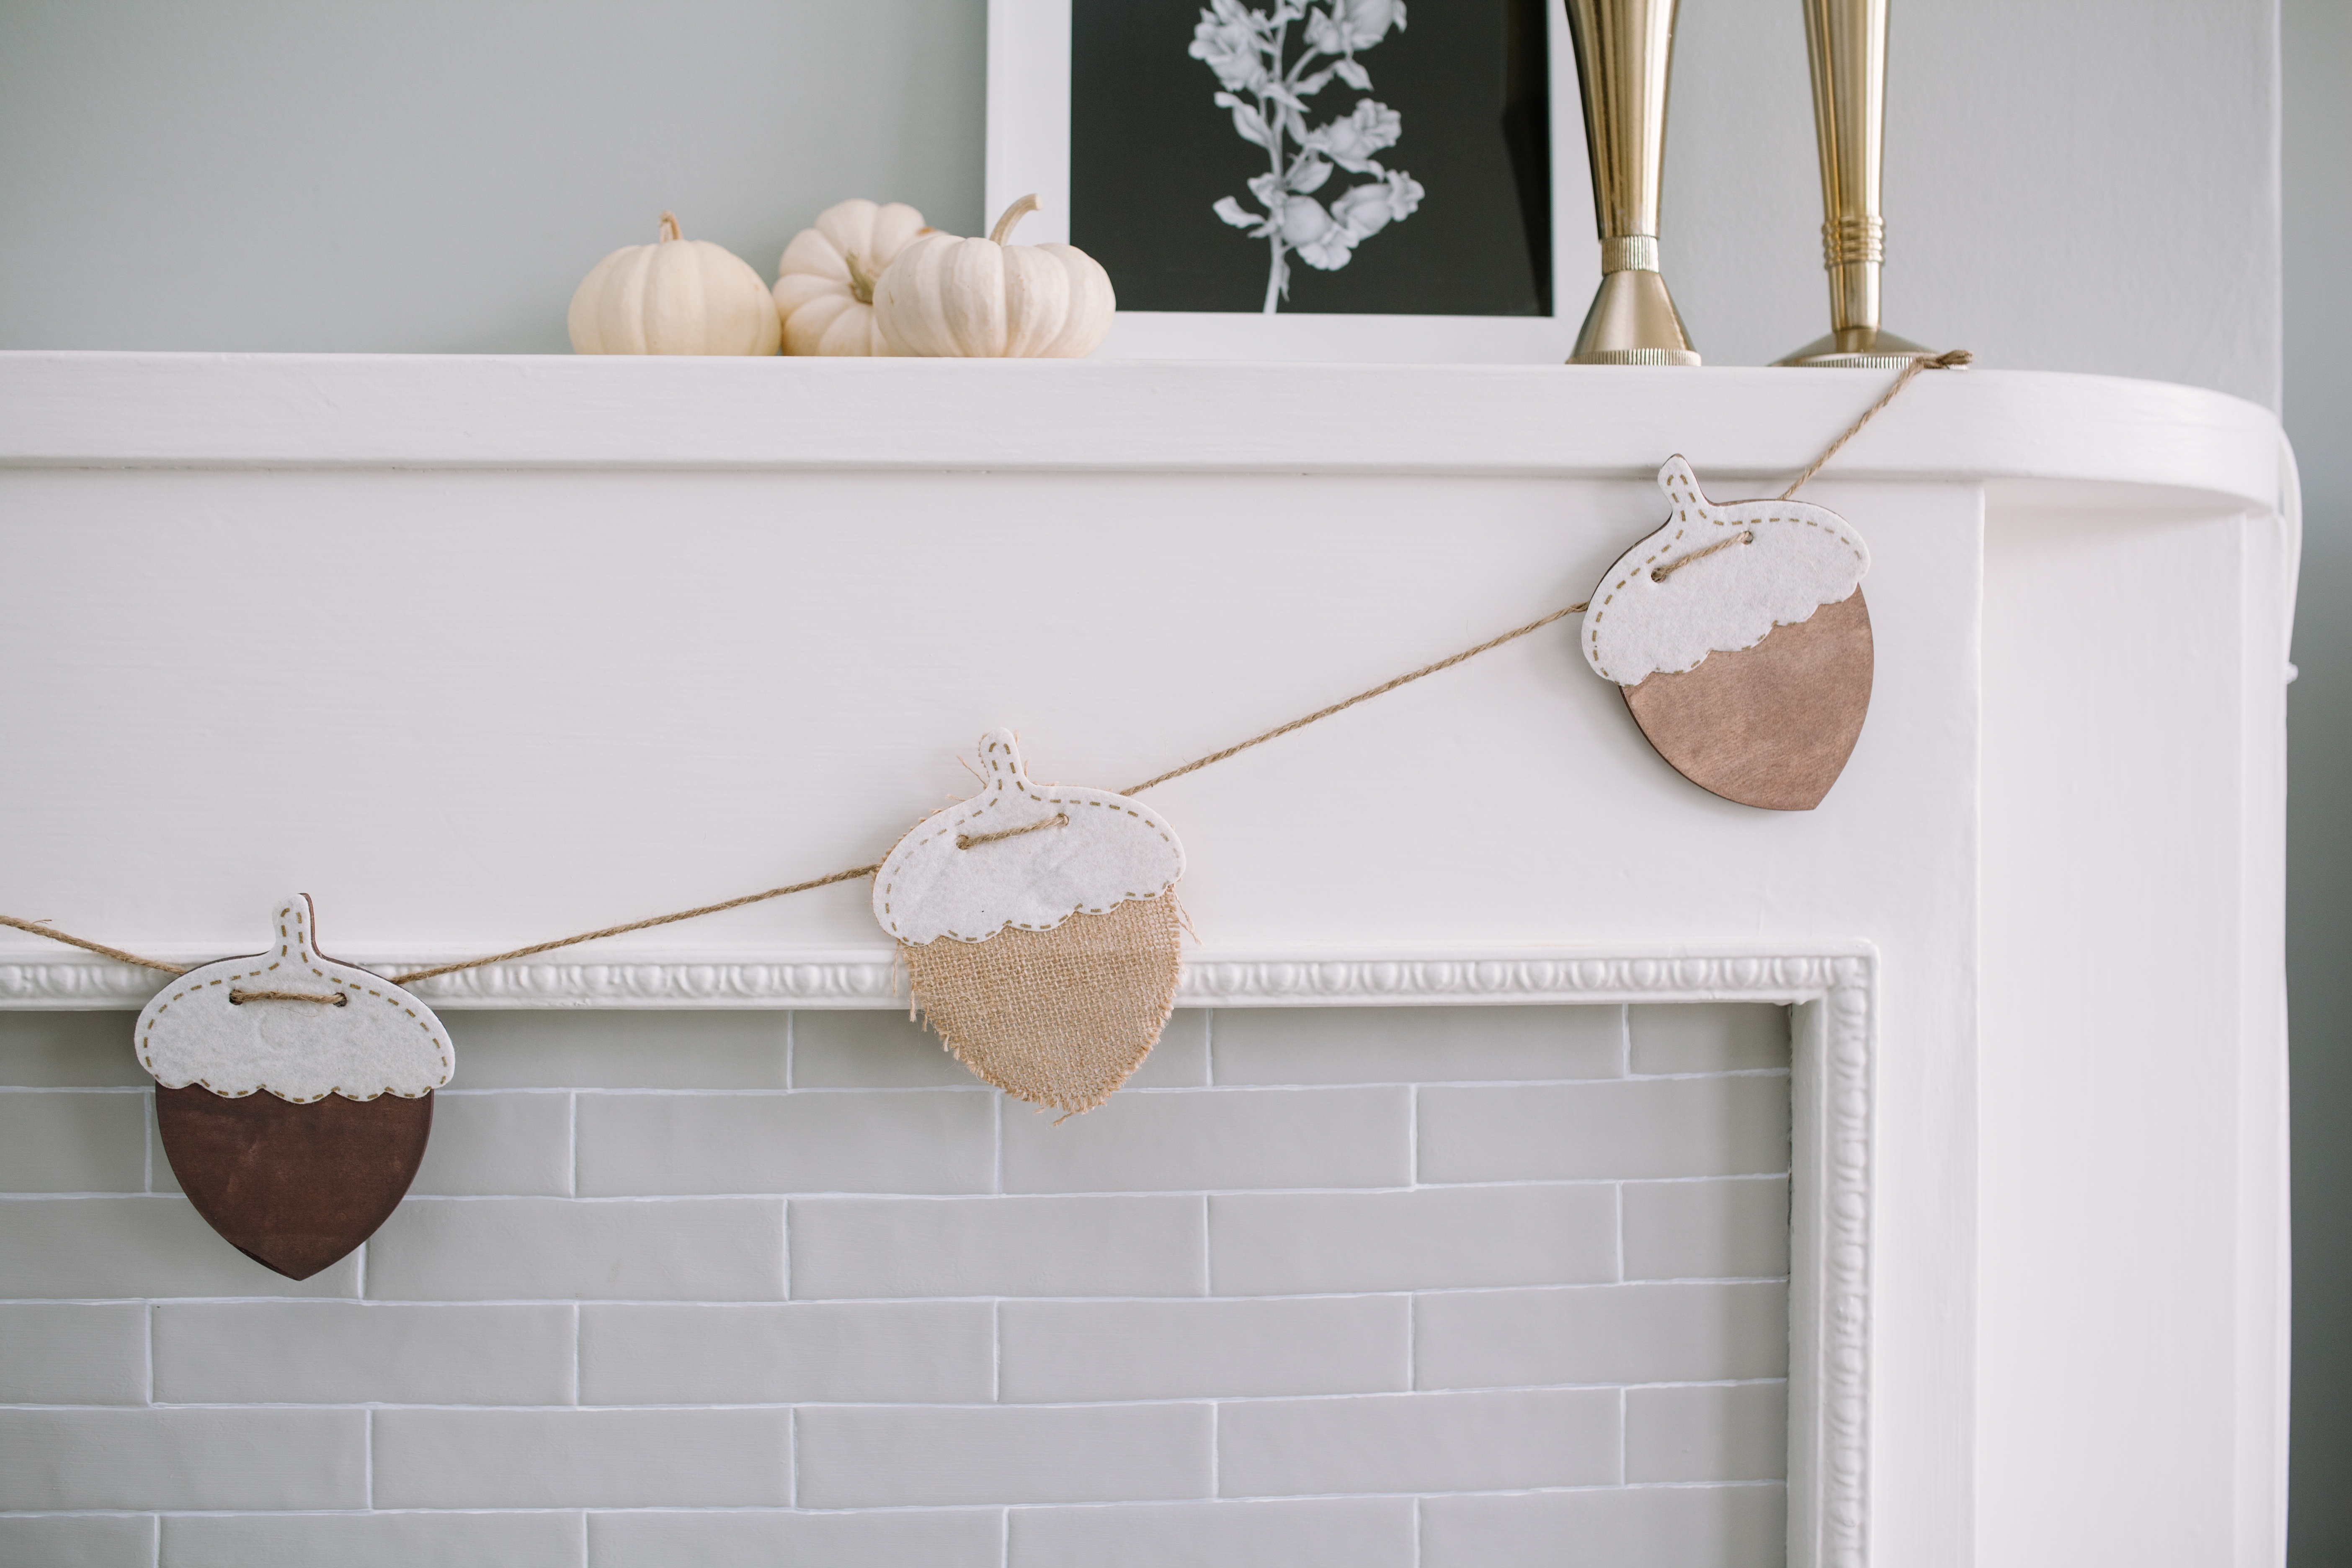
Once fully dried I stood back and did a little jig. I was pretty pleased with the outcome and just in time for the holiday decor to come out!
You really can make a big change with just a can of paint (or two) so imagine if I took this project on with a bolder color or used a darker paint for the grout lines. The options are endless – what’s not to love?
Style 5 – Style it
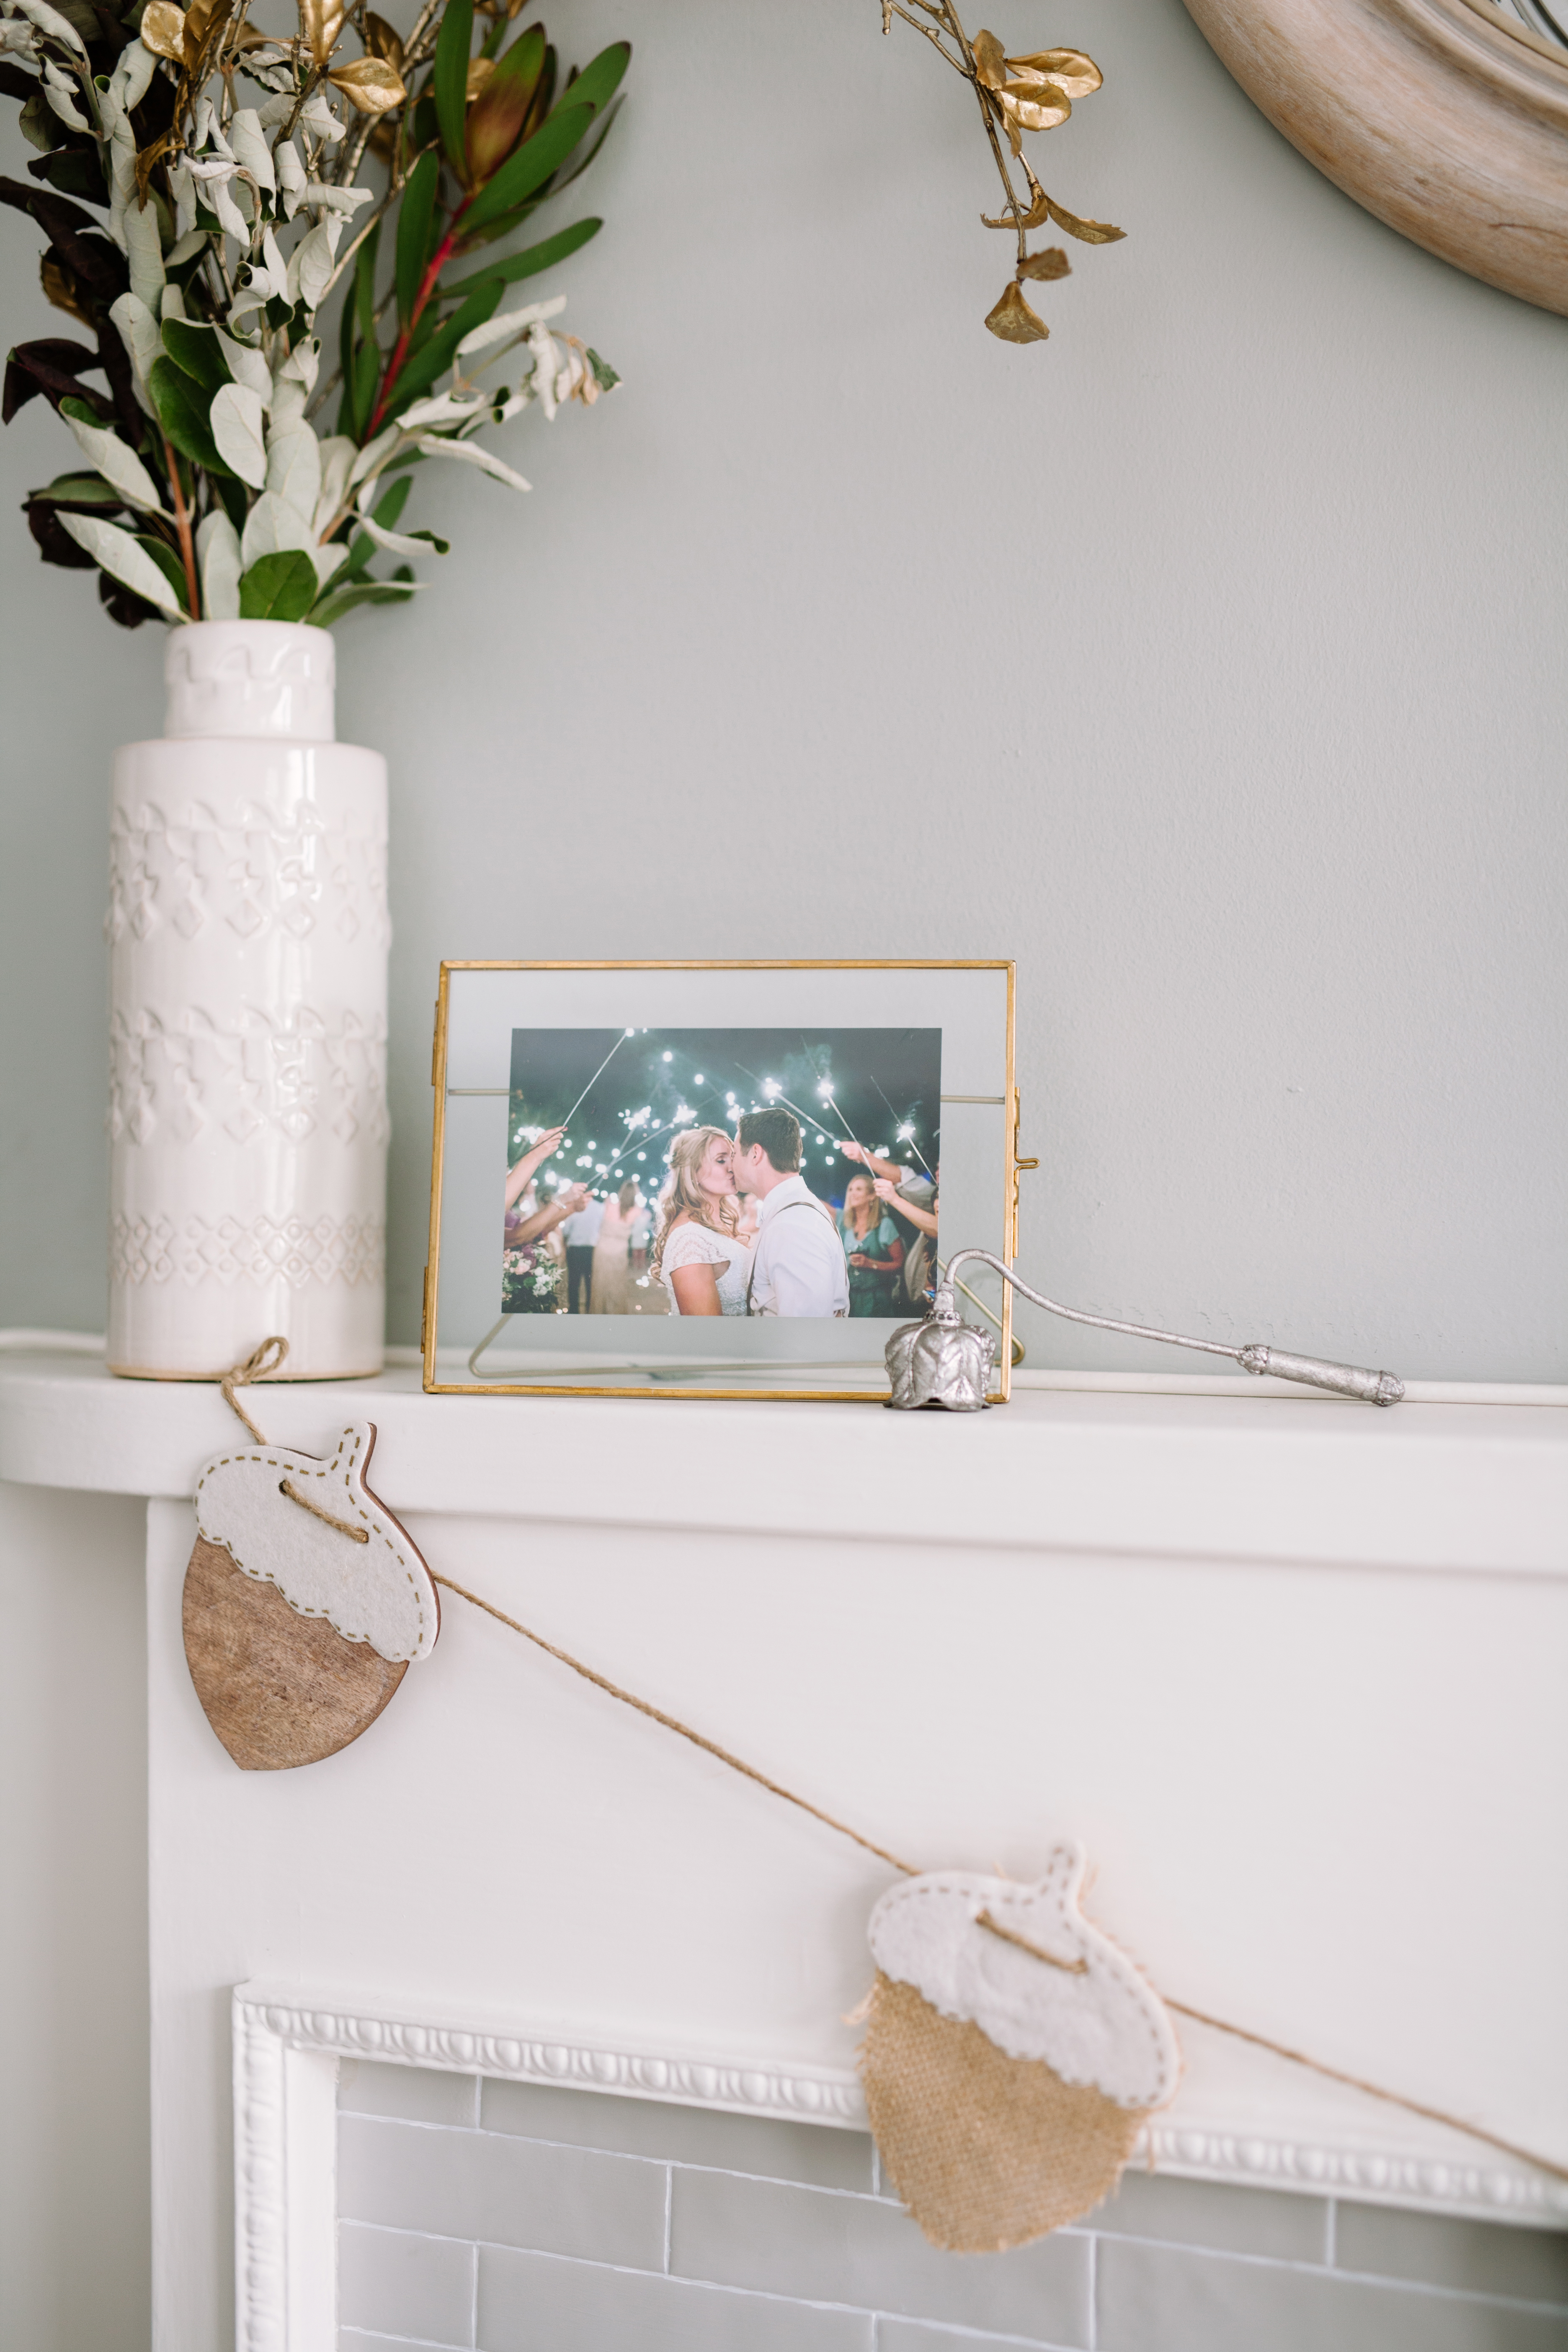
Now is the really fun part, you get to style it to your liking and then sit back and admire all of your handy work!

Get The Look: Convex Mirror // Floral Print ( I drew this – contact us for details) // Baskets // Pillow // Blanket // Candle Sticks // Frame // Vase // Banner // Paint color // Birch Logs
I hope you enjoyed this manicured DIY!
If you take this project on, please share photos – I would love to see them!


[…] an interior designer and the voice behind the blog My Manicured Life shares how to refresh an old hearth using paint to fake the look of chic subway tile. Afterward, she finished off her completed […]